How to Paint a School Bus

When we told people we were going to paint the exterior of our bus ourselves we got a lot of raised eyebrows and I don’t blame people for being skeptical. We were skeptical of our own skills.
We watched so many YouTube videos and read so many Skoolie forums and blogs to learn the best way to paint a school bus at home. The way your self-conversion looks on the outside can be the deciding factor in whether a campground will accept your reservation. Also, we worked too hard everywhere else to have our exterior paint job look sketchy so doing our research was important. Here is the result of that research including the equipment we used and the step by step process of how not to have a sketchy Skoolie paint job.
Our Equipment
Here are a few specific things that we used to set ourselves up for success. First, a good quality paint sprayer, doesn’t have to be the most expensive model available, but where you can sacrifice a little quality for a better price in most cases, we figured it was worth it to splurge a little for this tool.
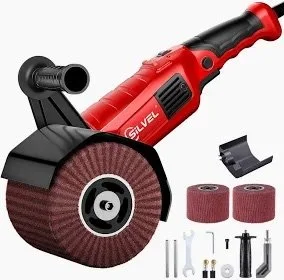
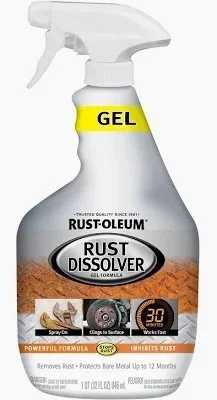
To prep our surface, we ended up needing to borrow a heavy duty sander (thanks neighbor), and use rust dissolving gel on the bare sheet metal we left exposed and untreated for months (we hoped it would be fine).
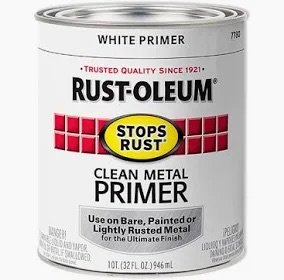
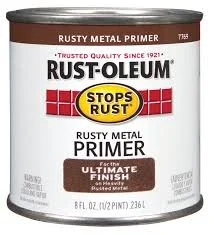
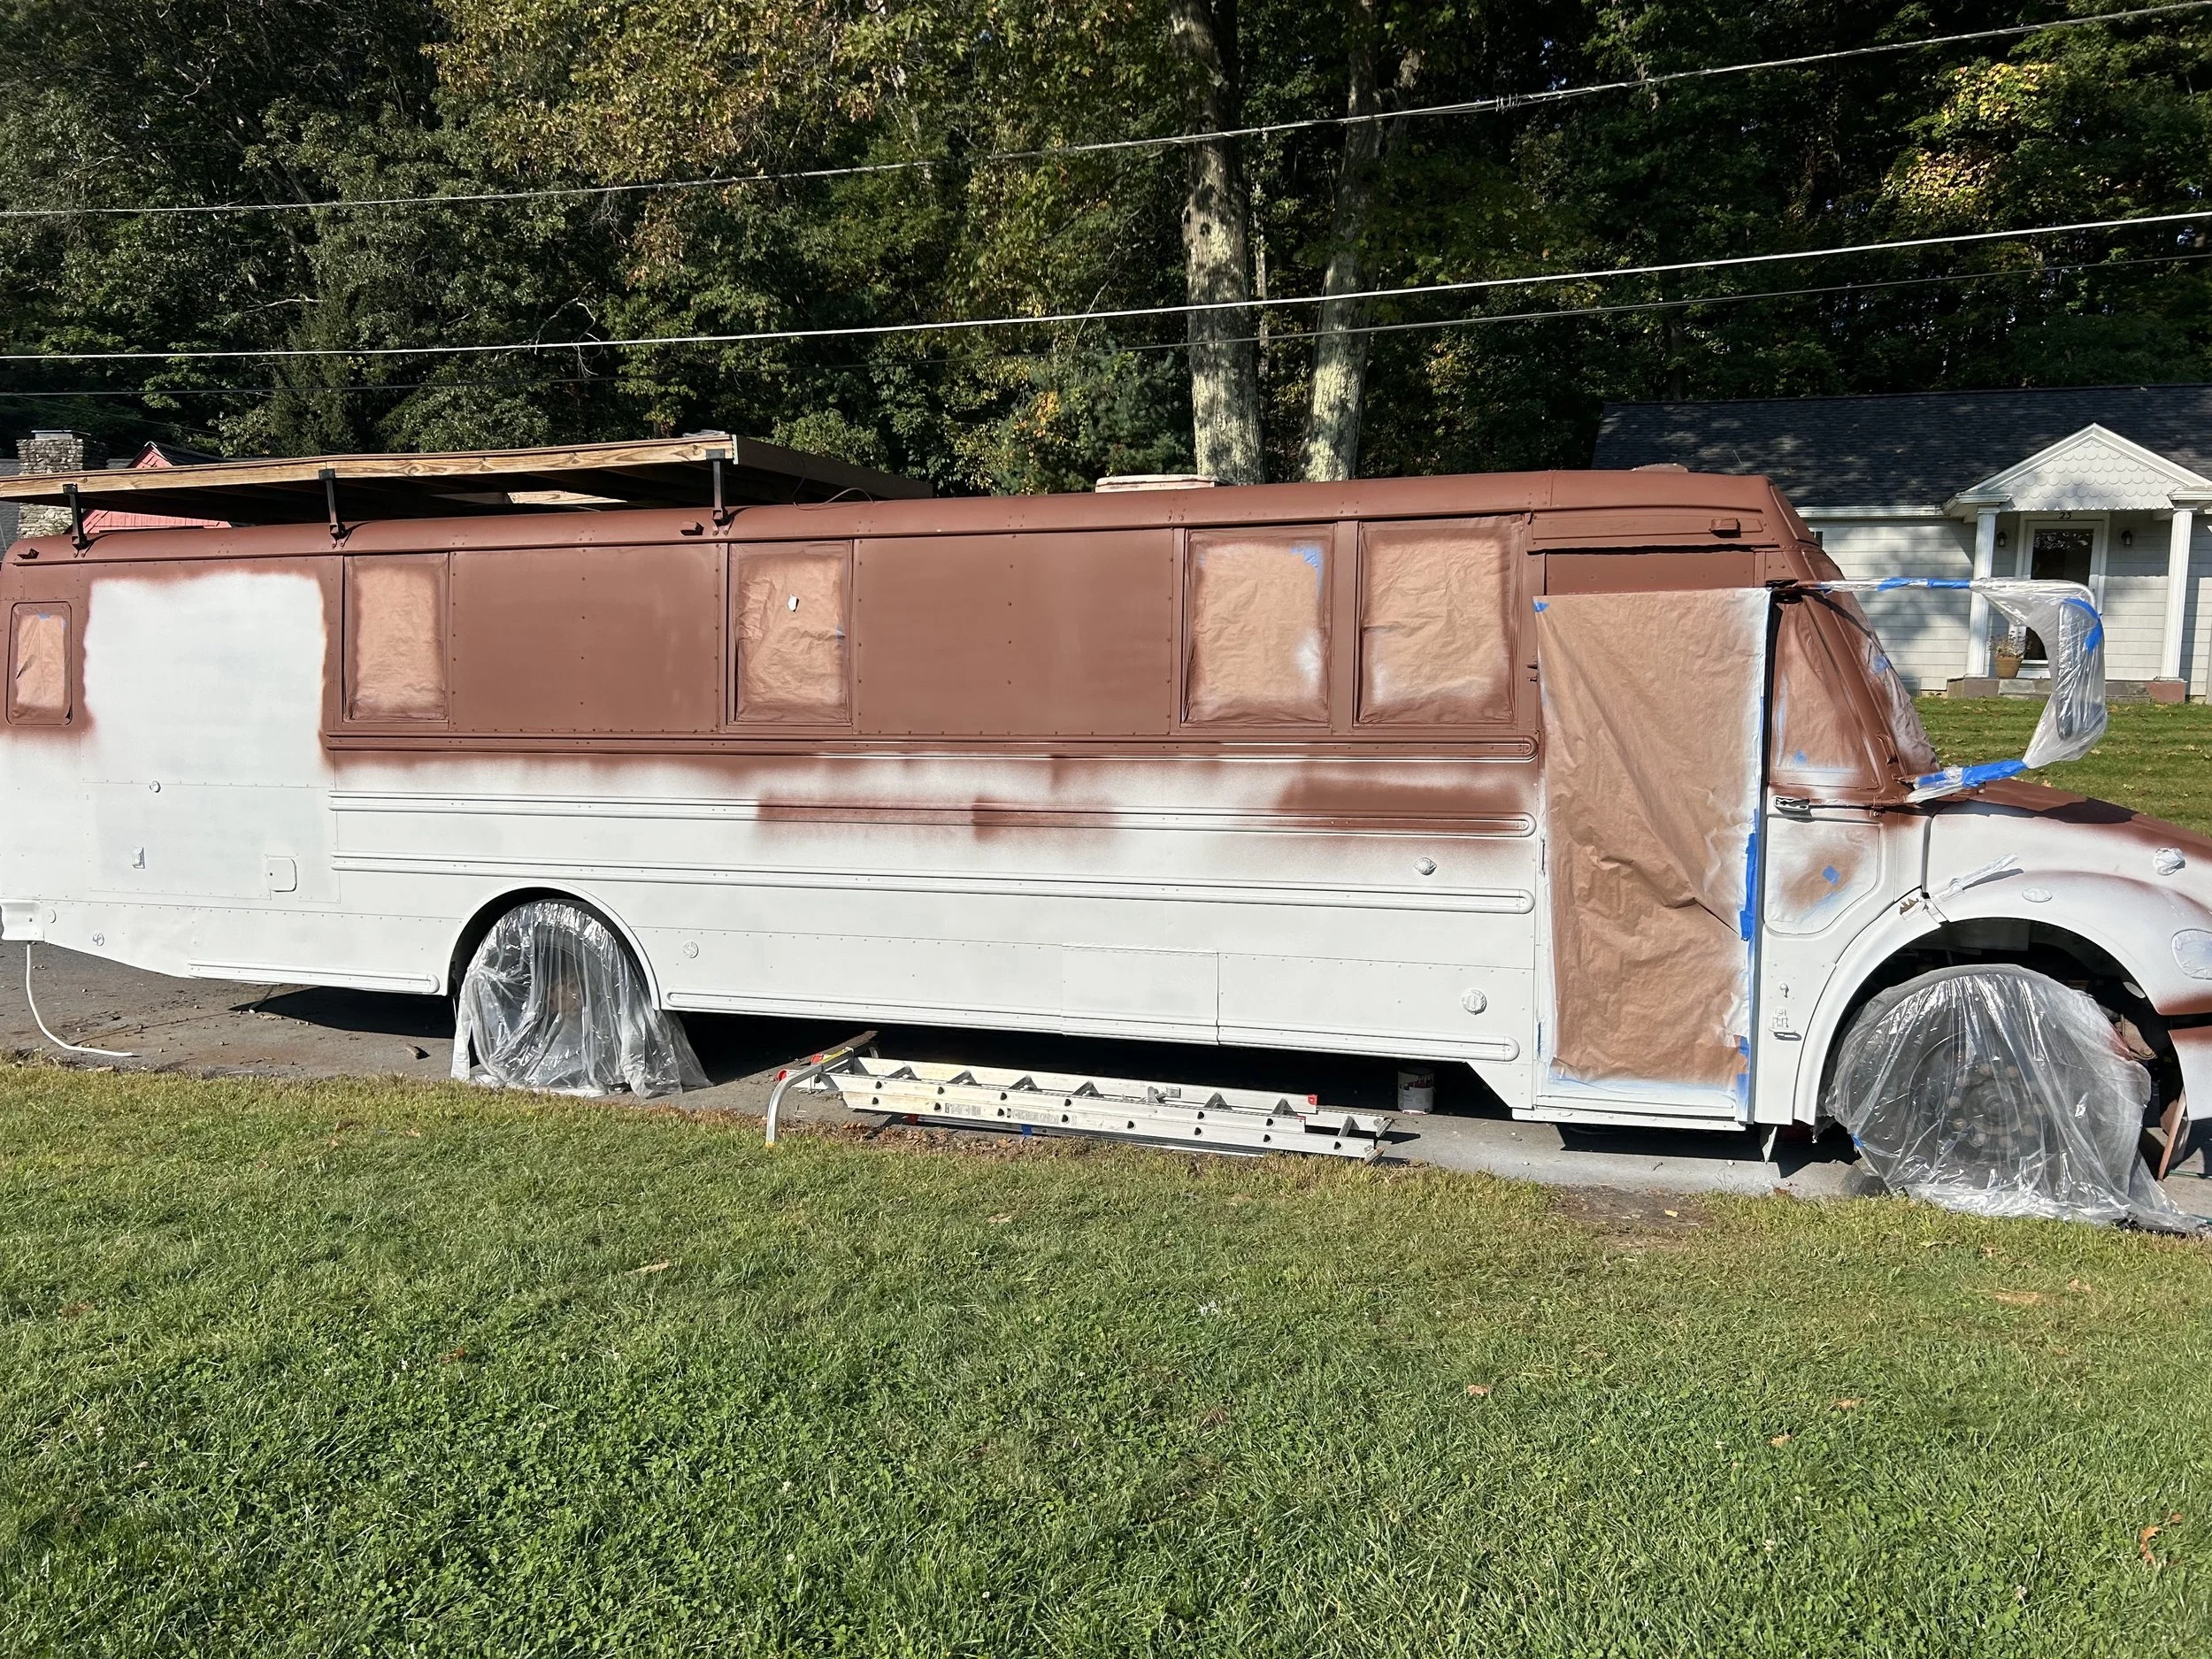
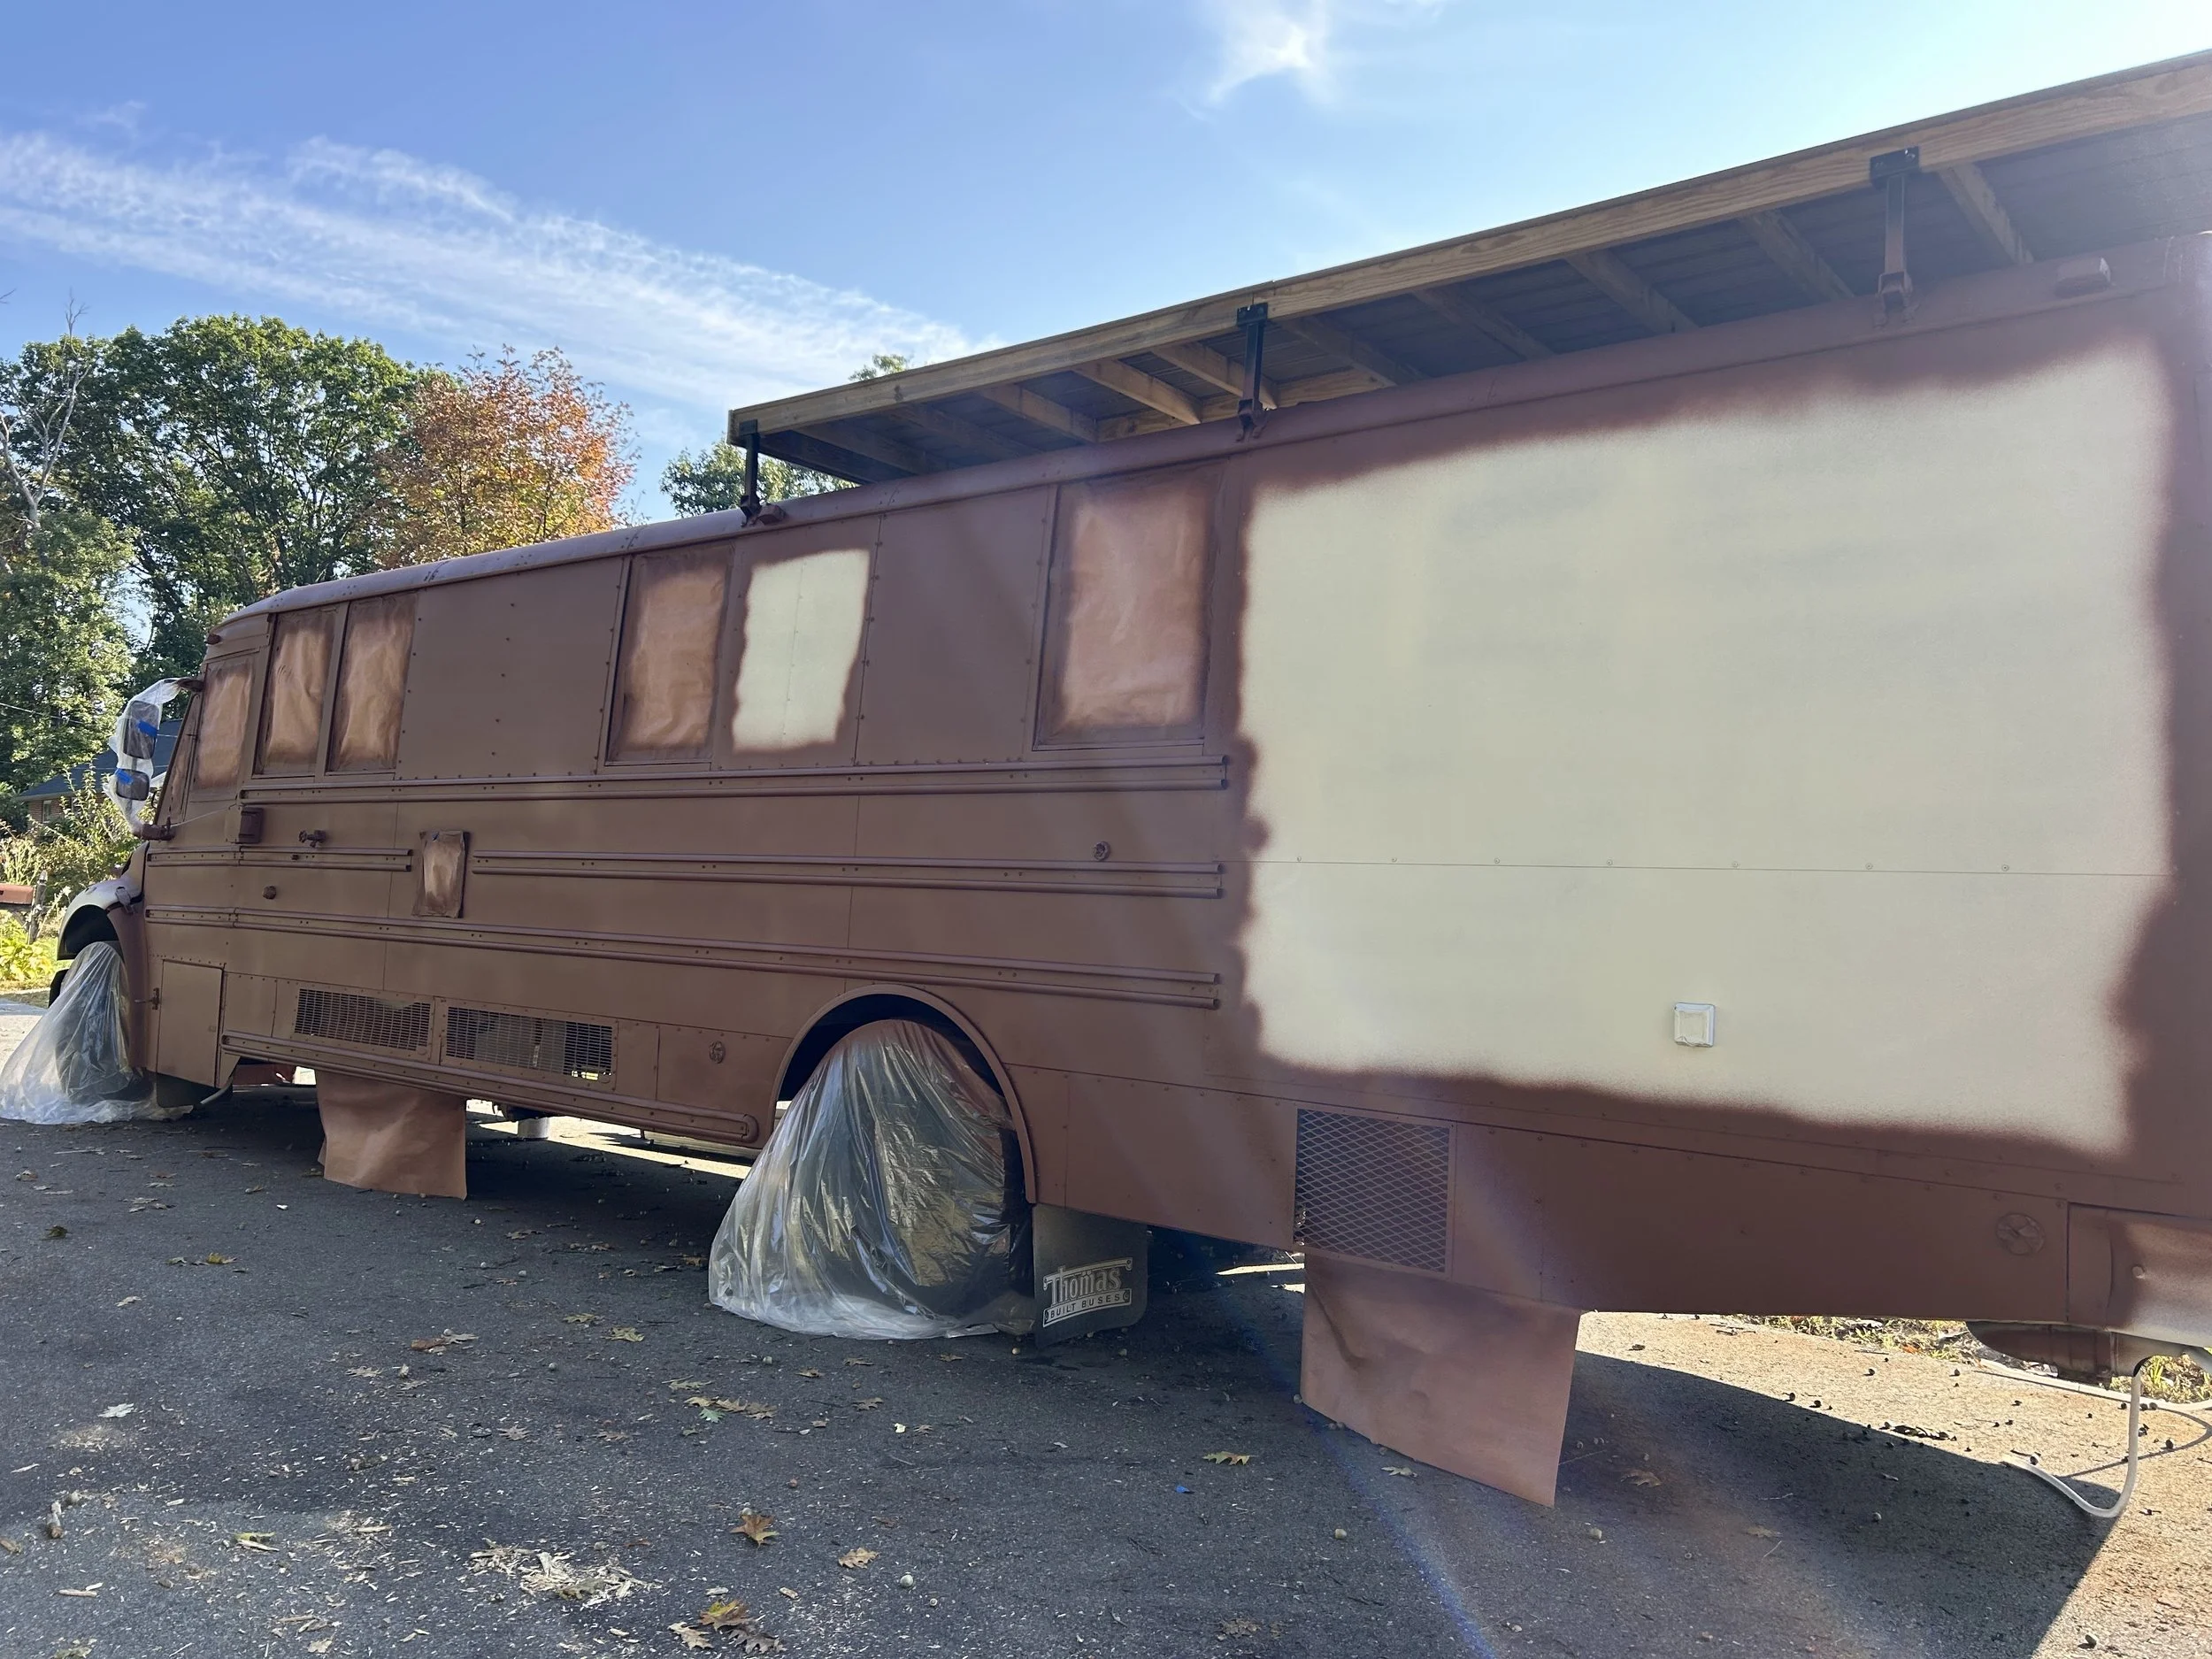
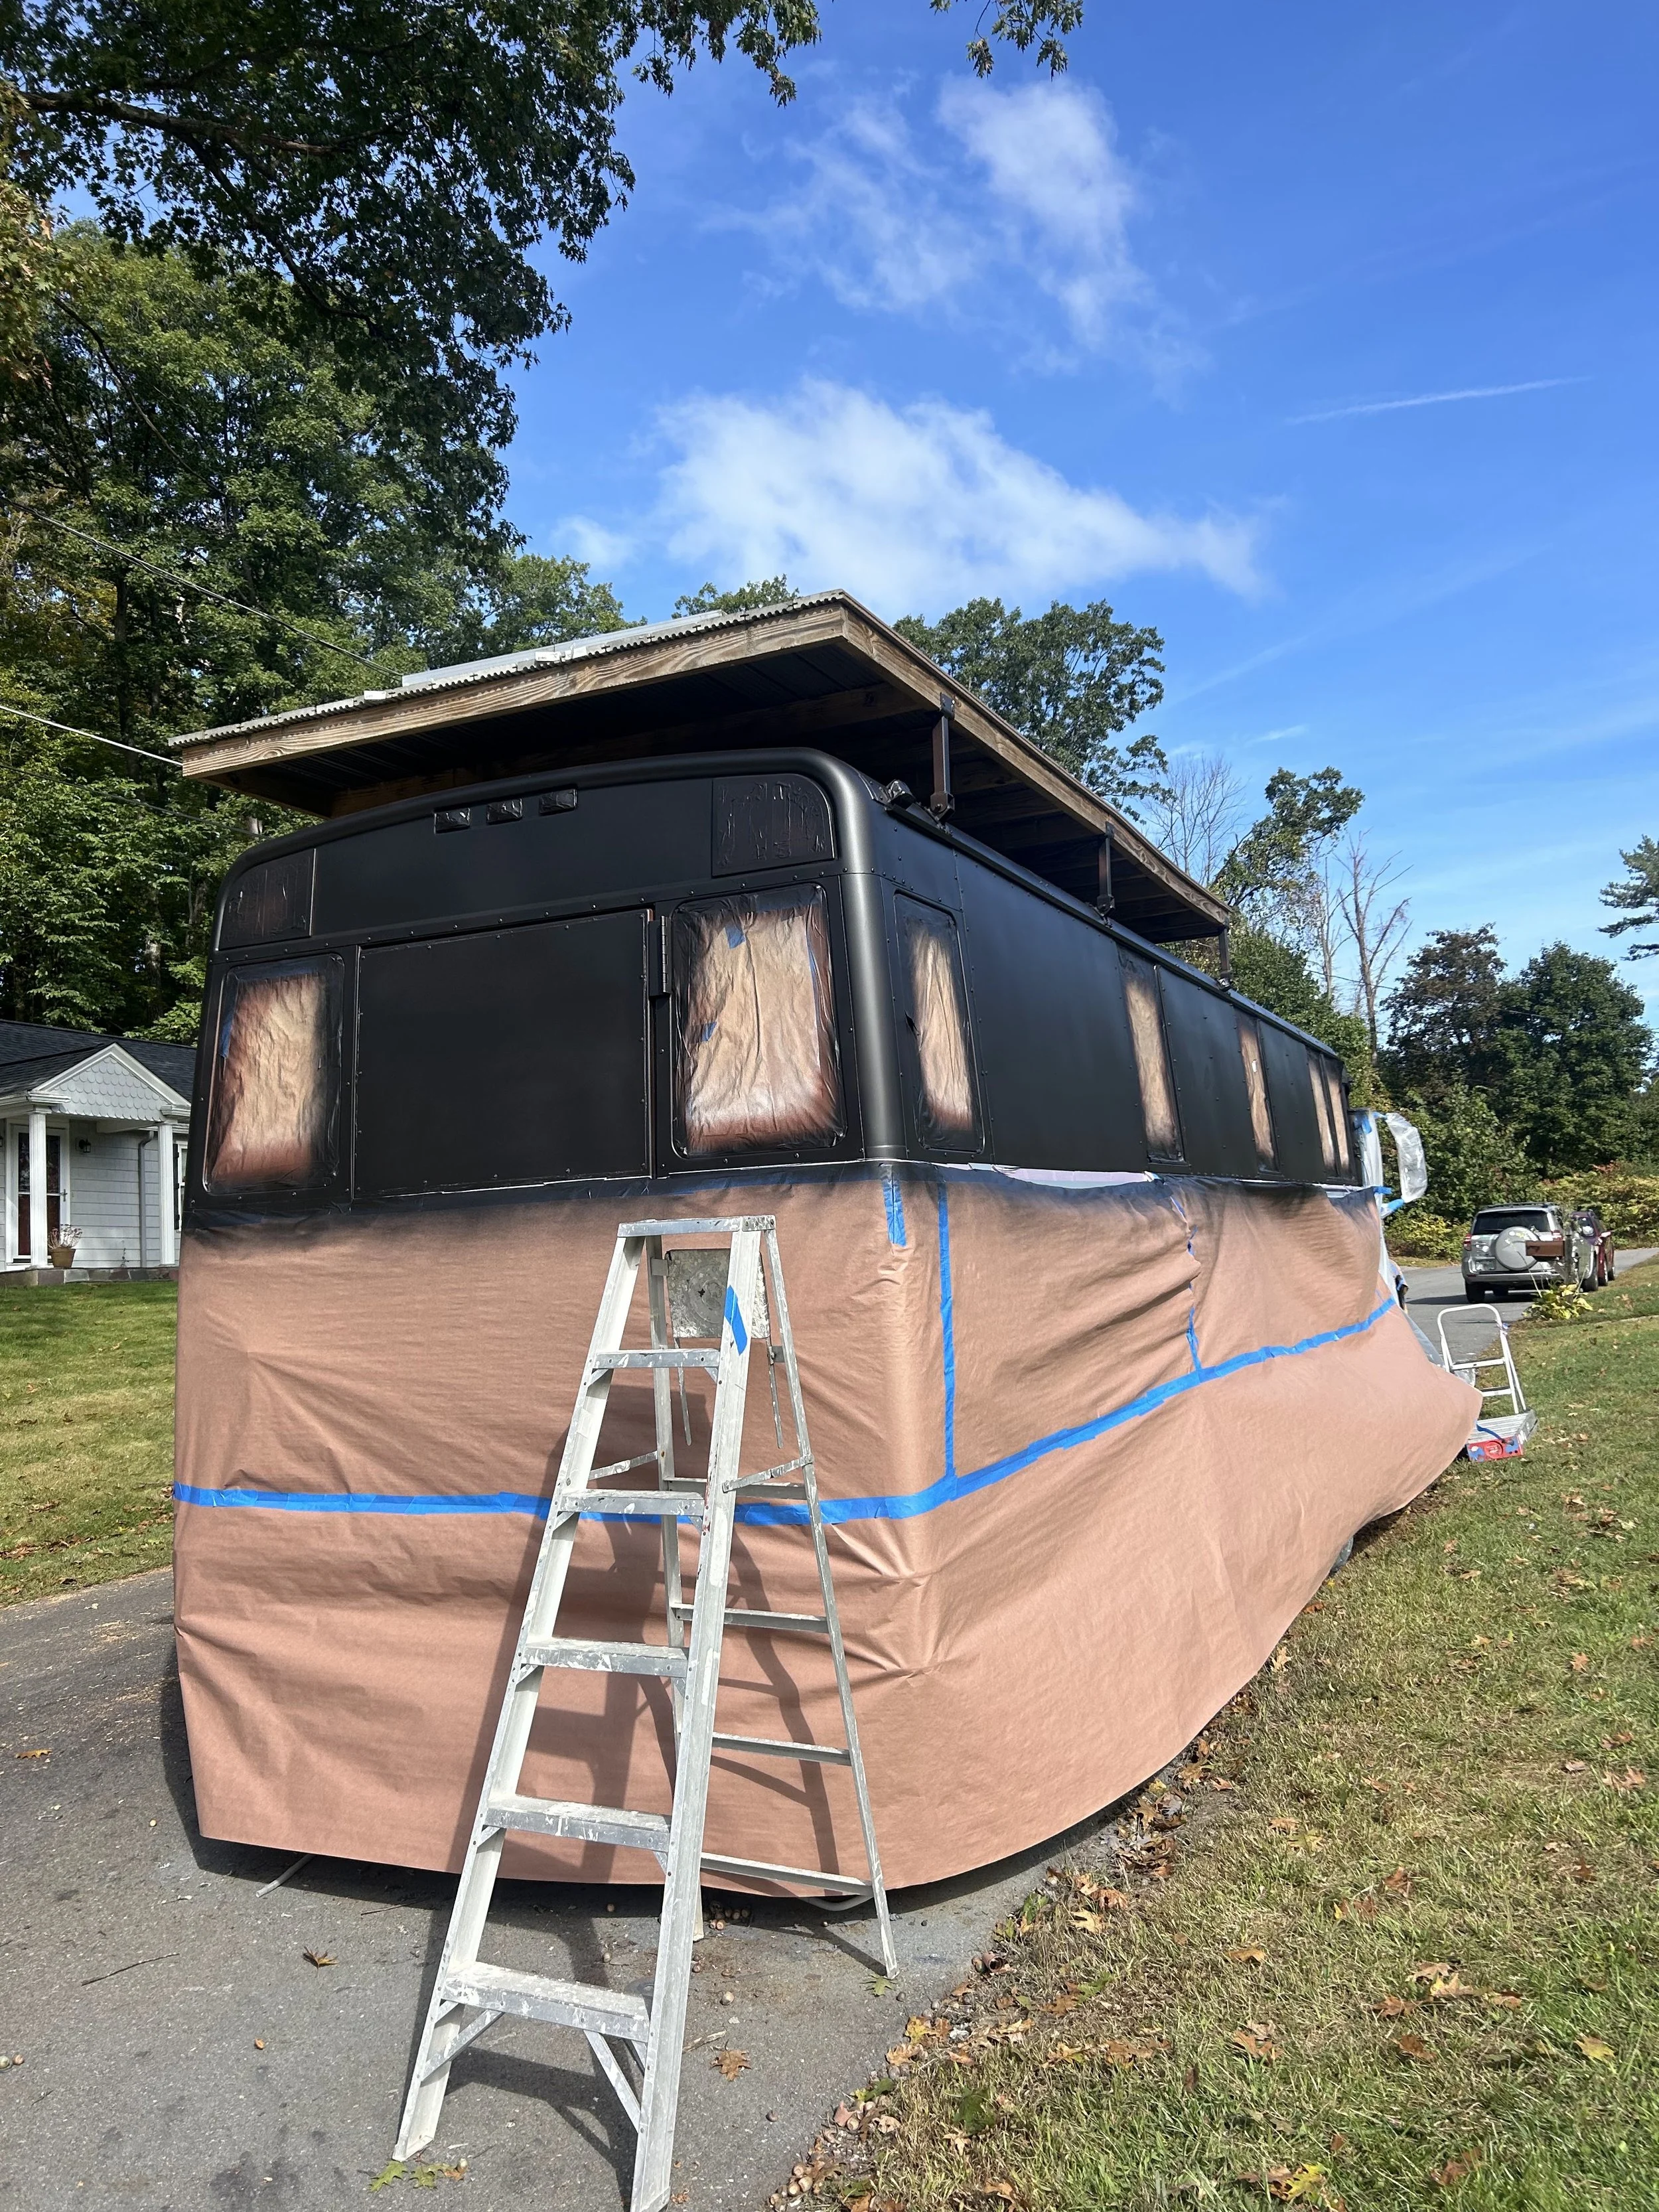
Why are there two primers? We ran out of the clean metal primer and so did Home Depot. We substituted with rusty metal primer even though it was a crazy copper color and made the bus look a little ridiculous for a few days.

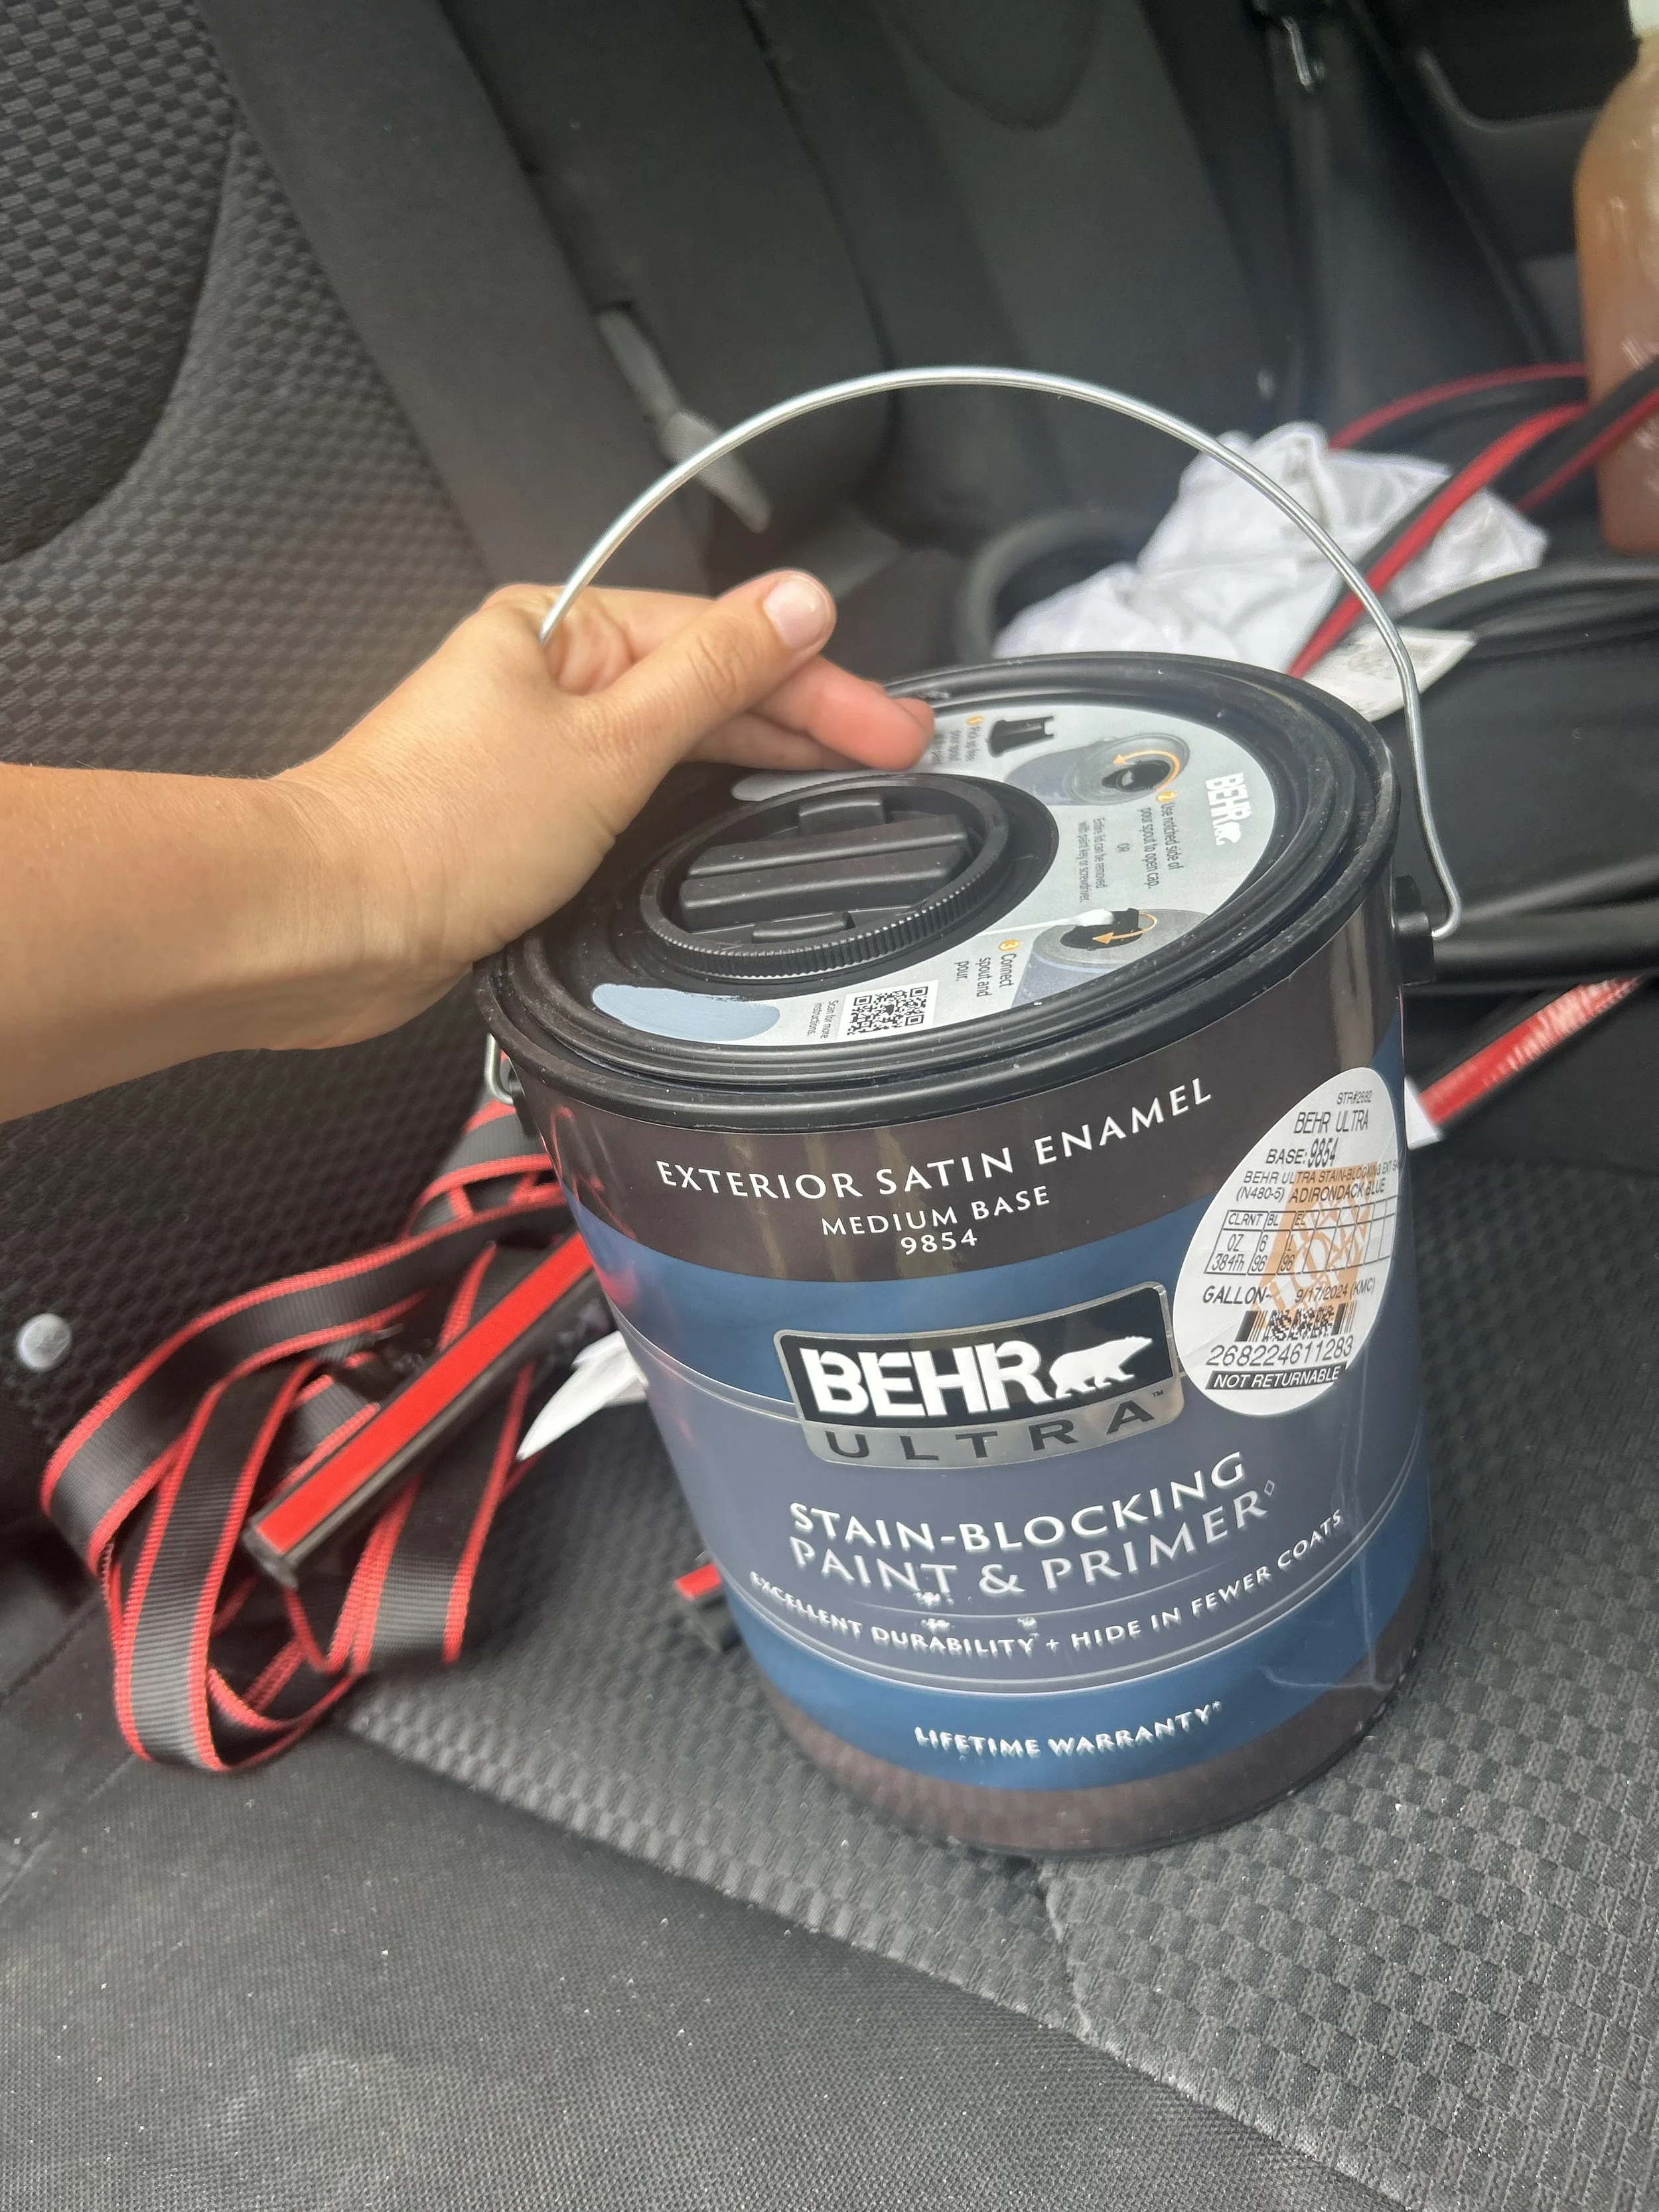
For our colors, we used Behr Exterior Satin Enamel. If you’re wondering if you need to use car specific paint like we originally thought, the answer is no, its not necessary. We bought two gallons each of Black and Adirondack Blue, and that ended up being more than enough.
Besides these specific things, we used several rolls of painter’s tape, a 35in x200ft roll of building paper, two 12in by 180ft rolls of masking paper, and a few sheets of plastic drop cloth to wrap up anything we couldn’t cover with paper or tape.
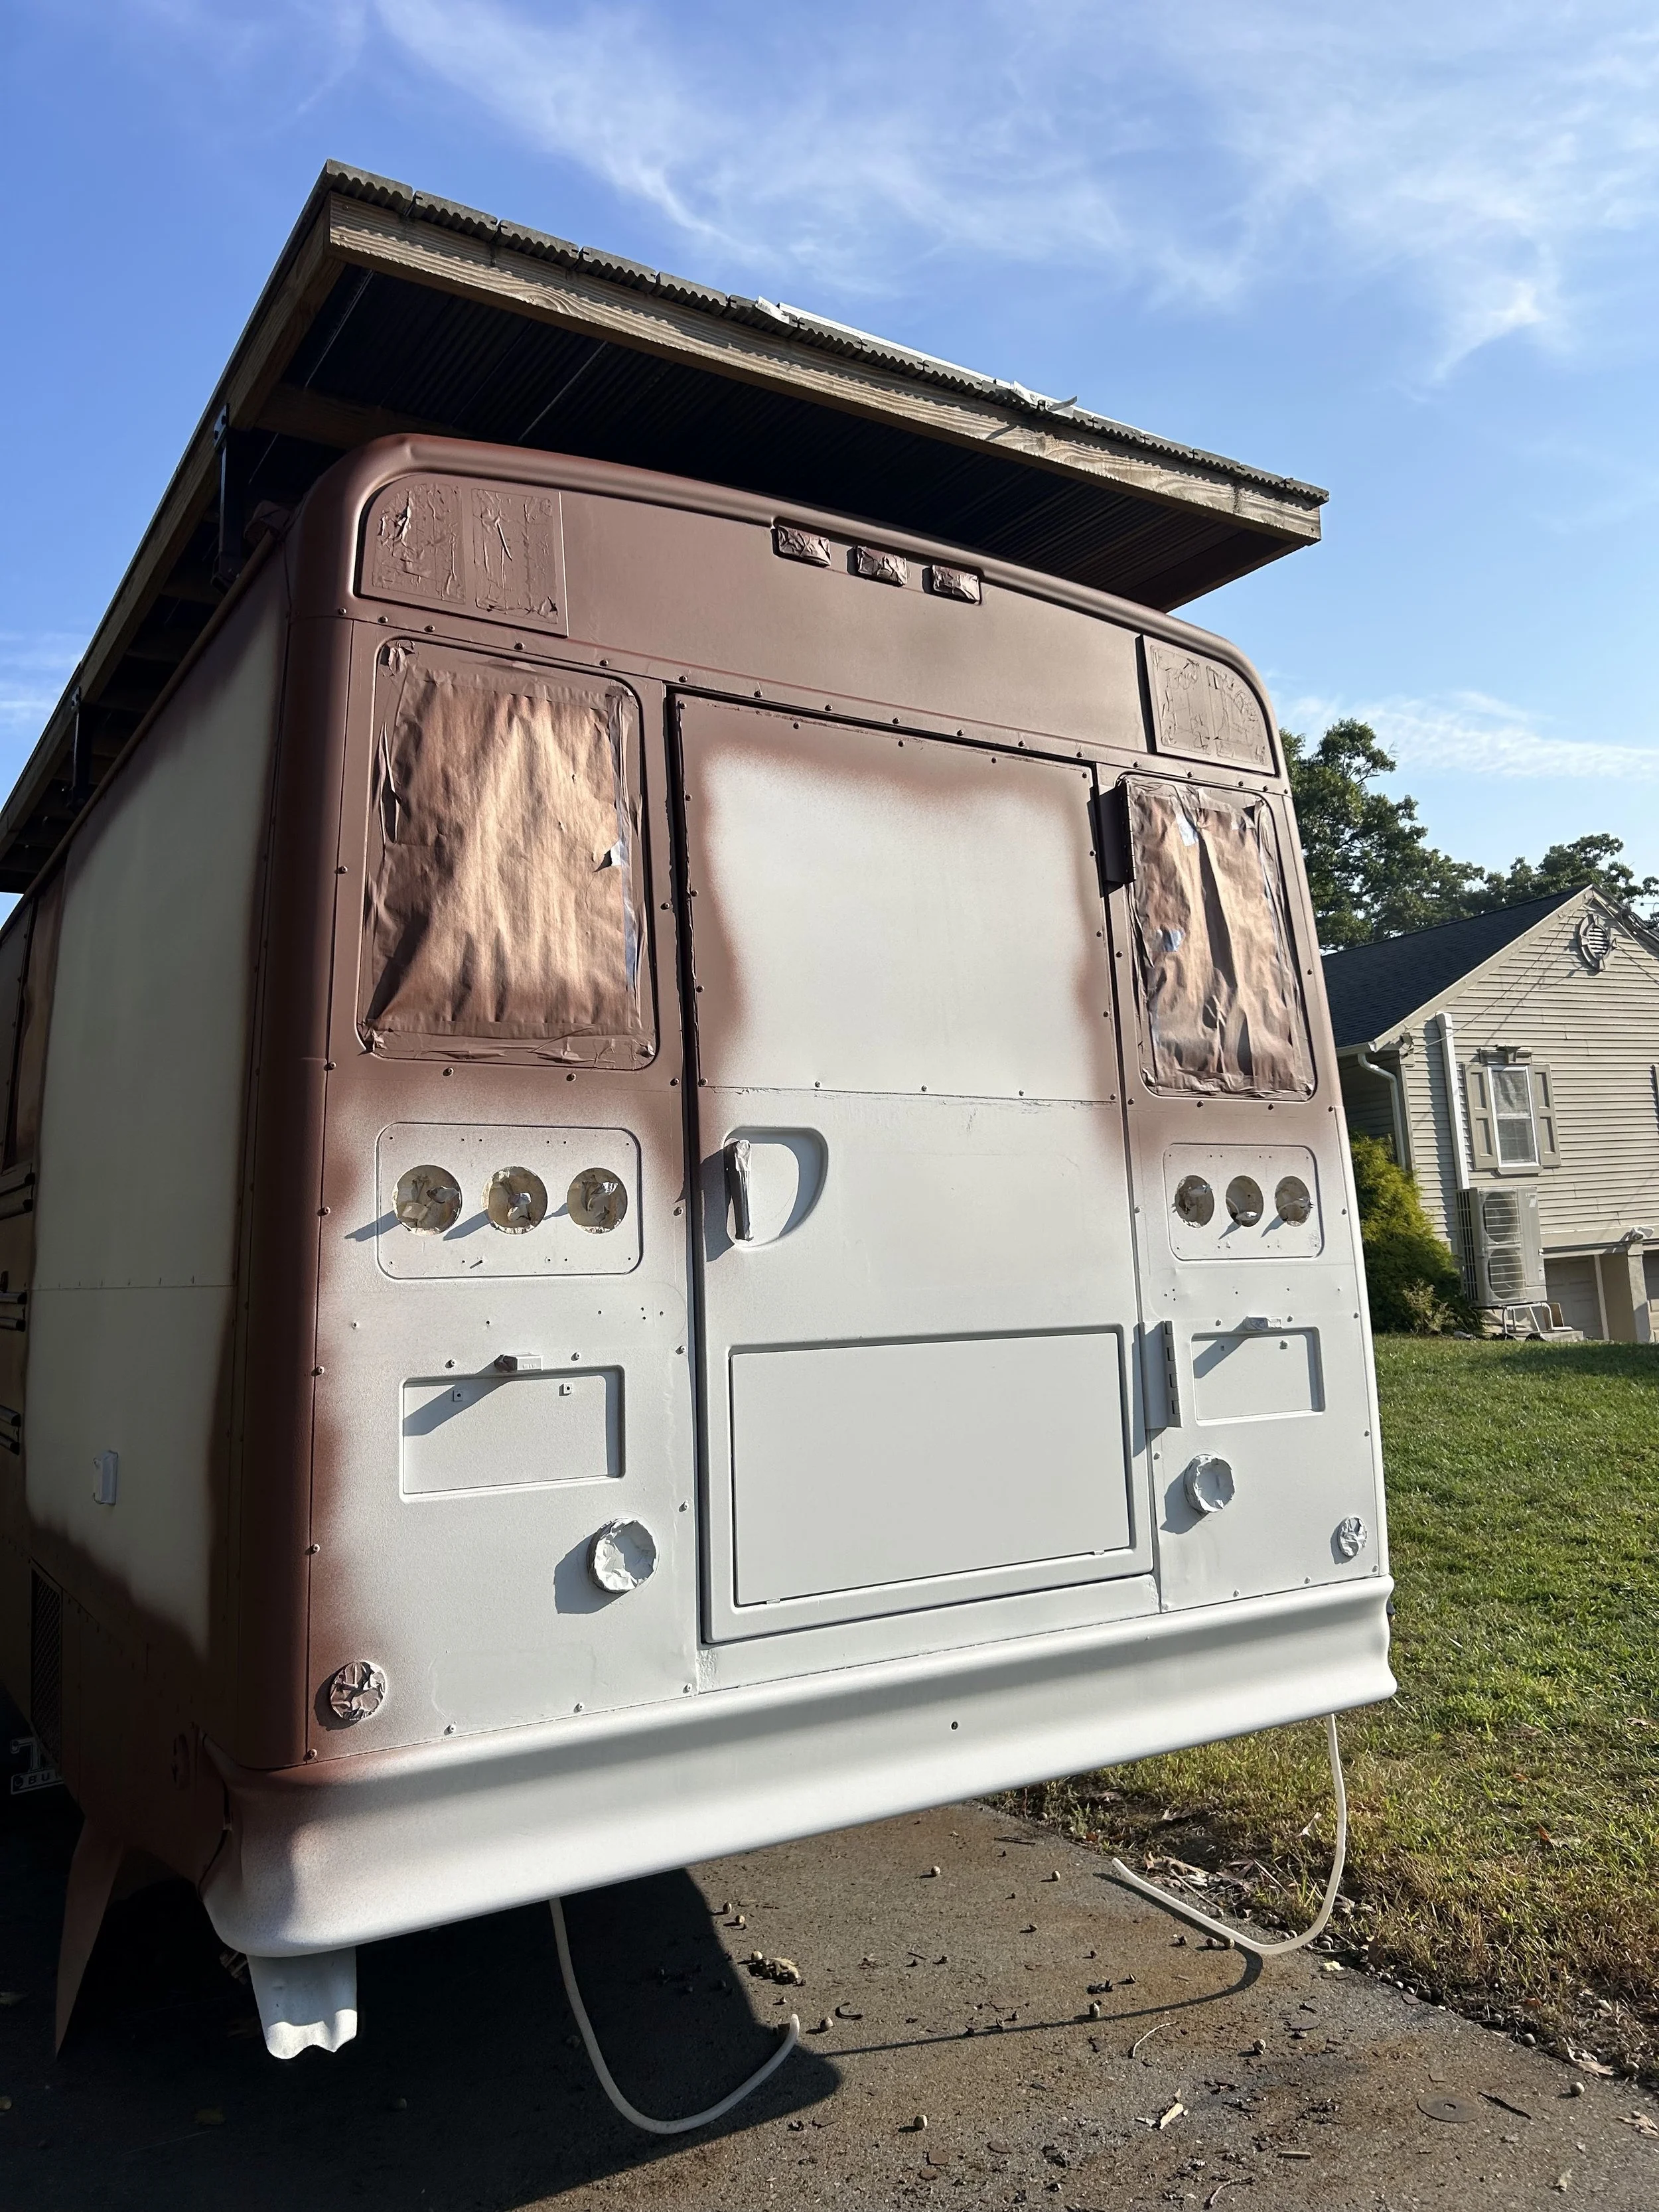
Step One : Remove and Cover Everything You Don’t Want Painted
This process took awhile (what didn’t?). We started with the things we could remove. We took off our crossview mirrors (keep a GOOD eye on those brackets they’re like $80 to replace. Ask me how I know.), and the taillights and covered everything else.


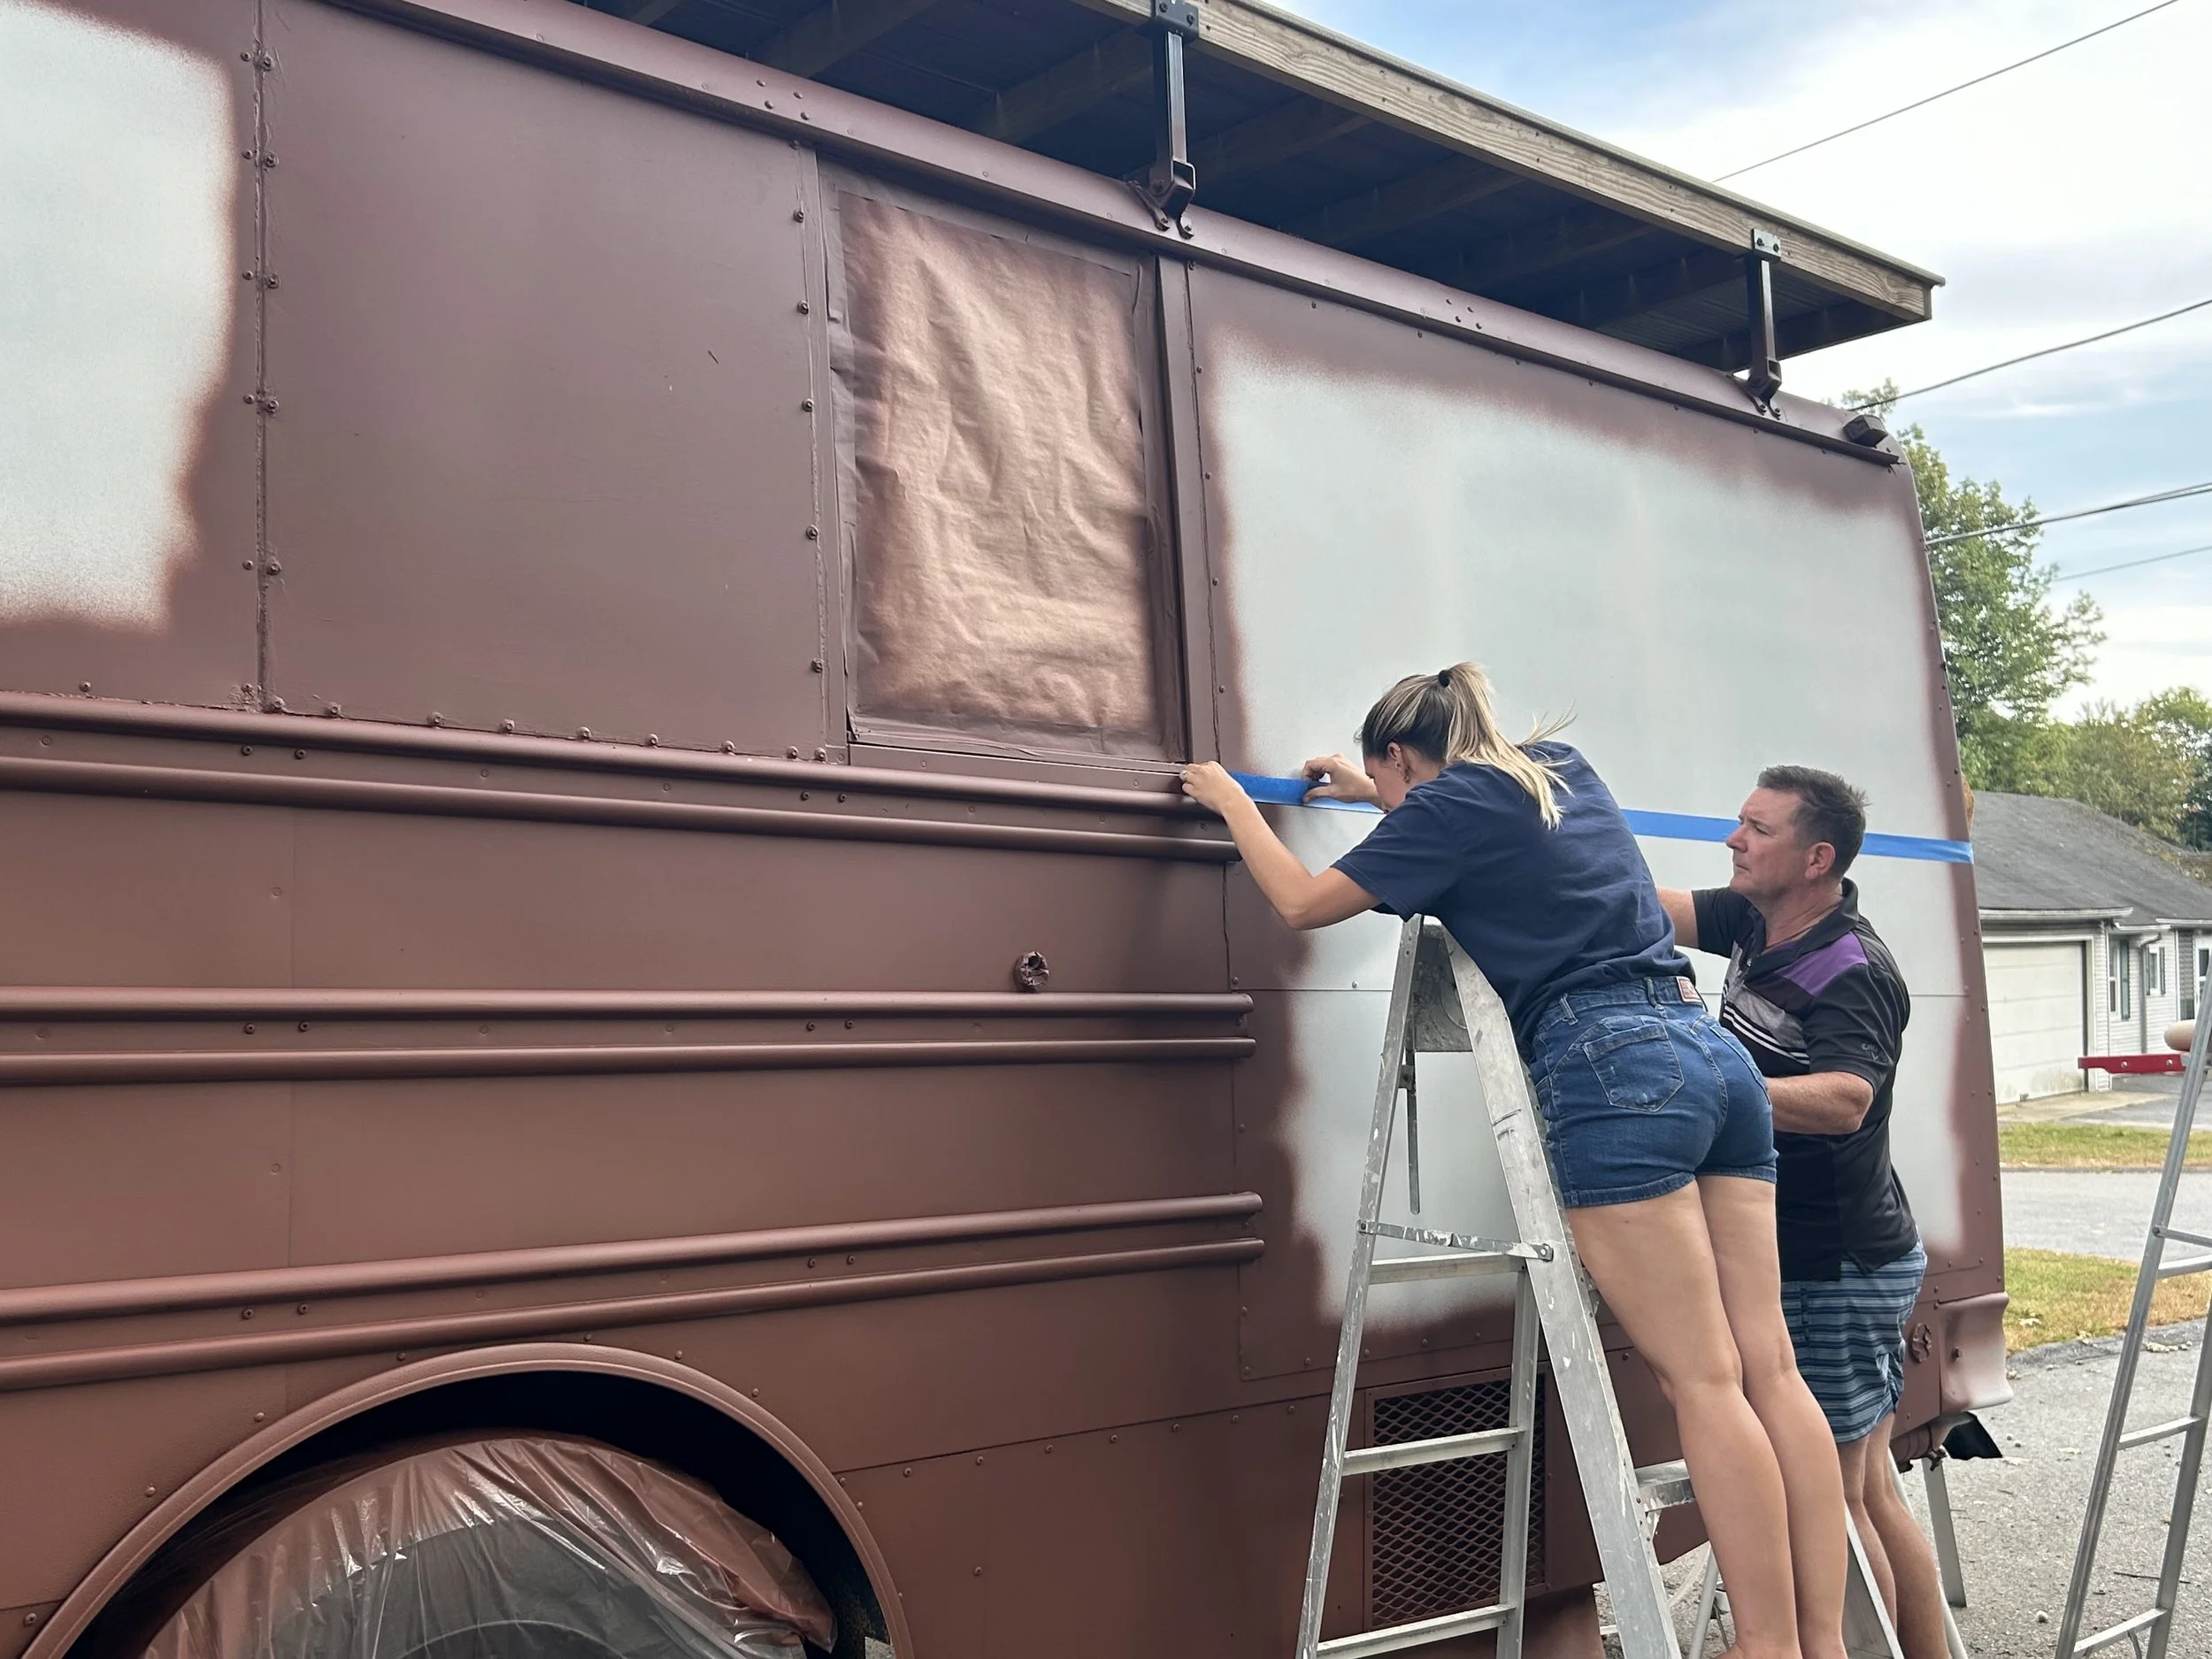
Step Two : Prep and Prime
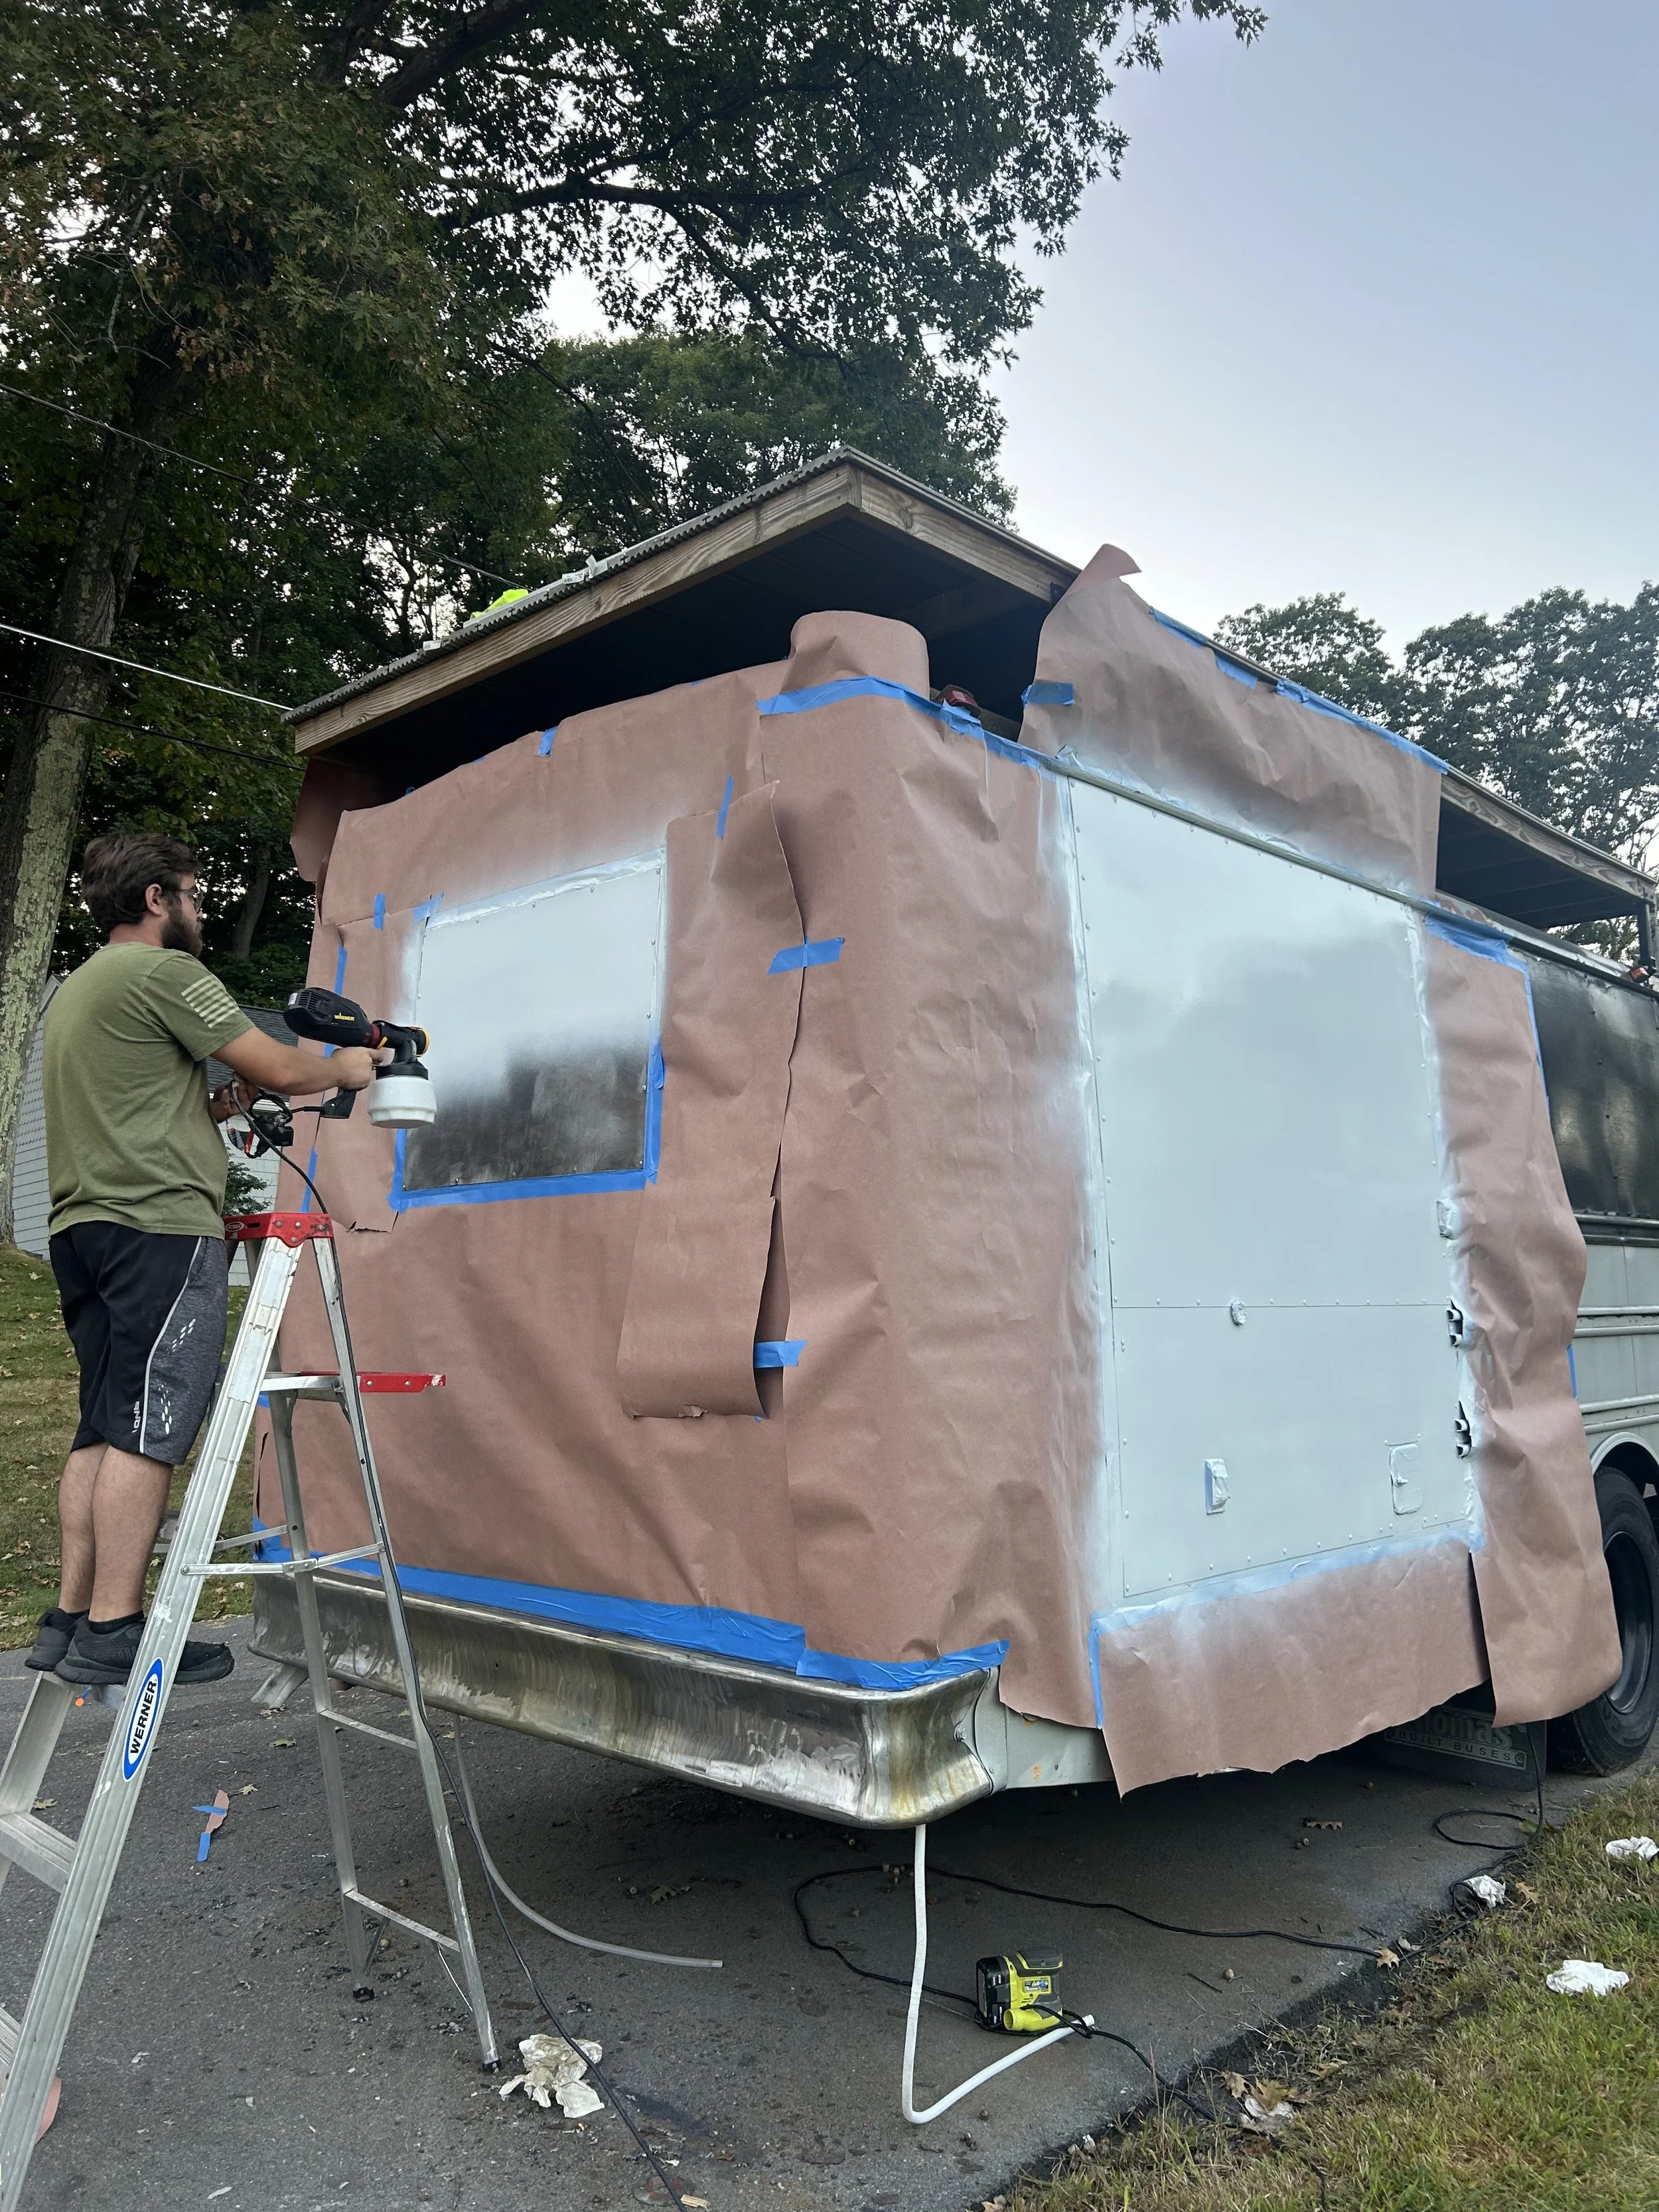
Then we prepped our sheet metal by sanding off the surface rust and dissolving what was left. Cole filled in our dents and cracks with Bondo and then we sanded the bumpers and anywhere the existing paint was chipping. By the time we were done with that, we didn’t have a lot of daylight left so we used builder’s paper and masking tape to section off our sheet metal so we could at least prime that so it wouldn’t rust again overnight.


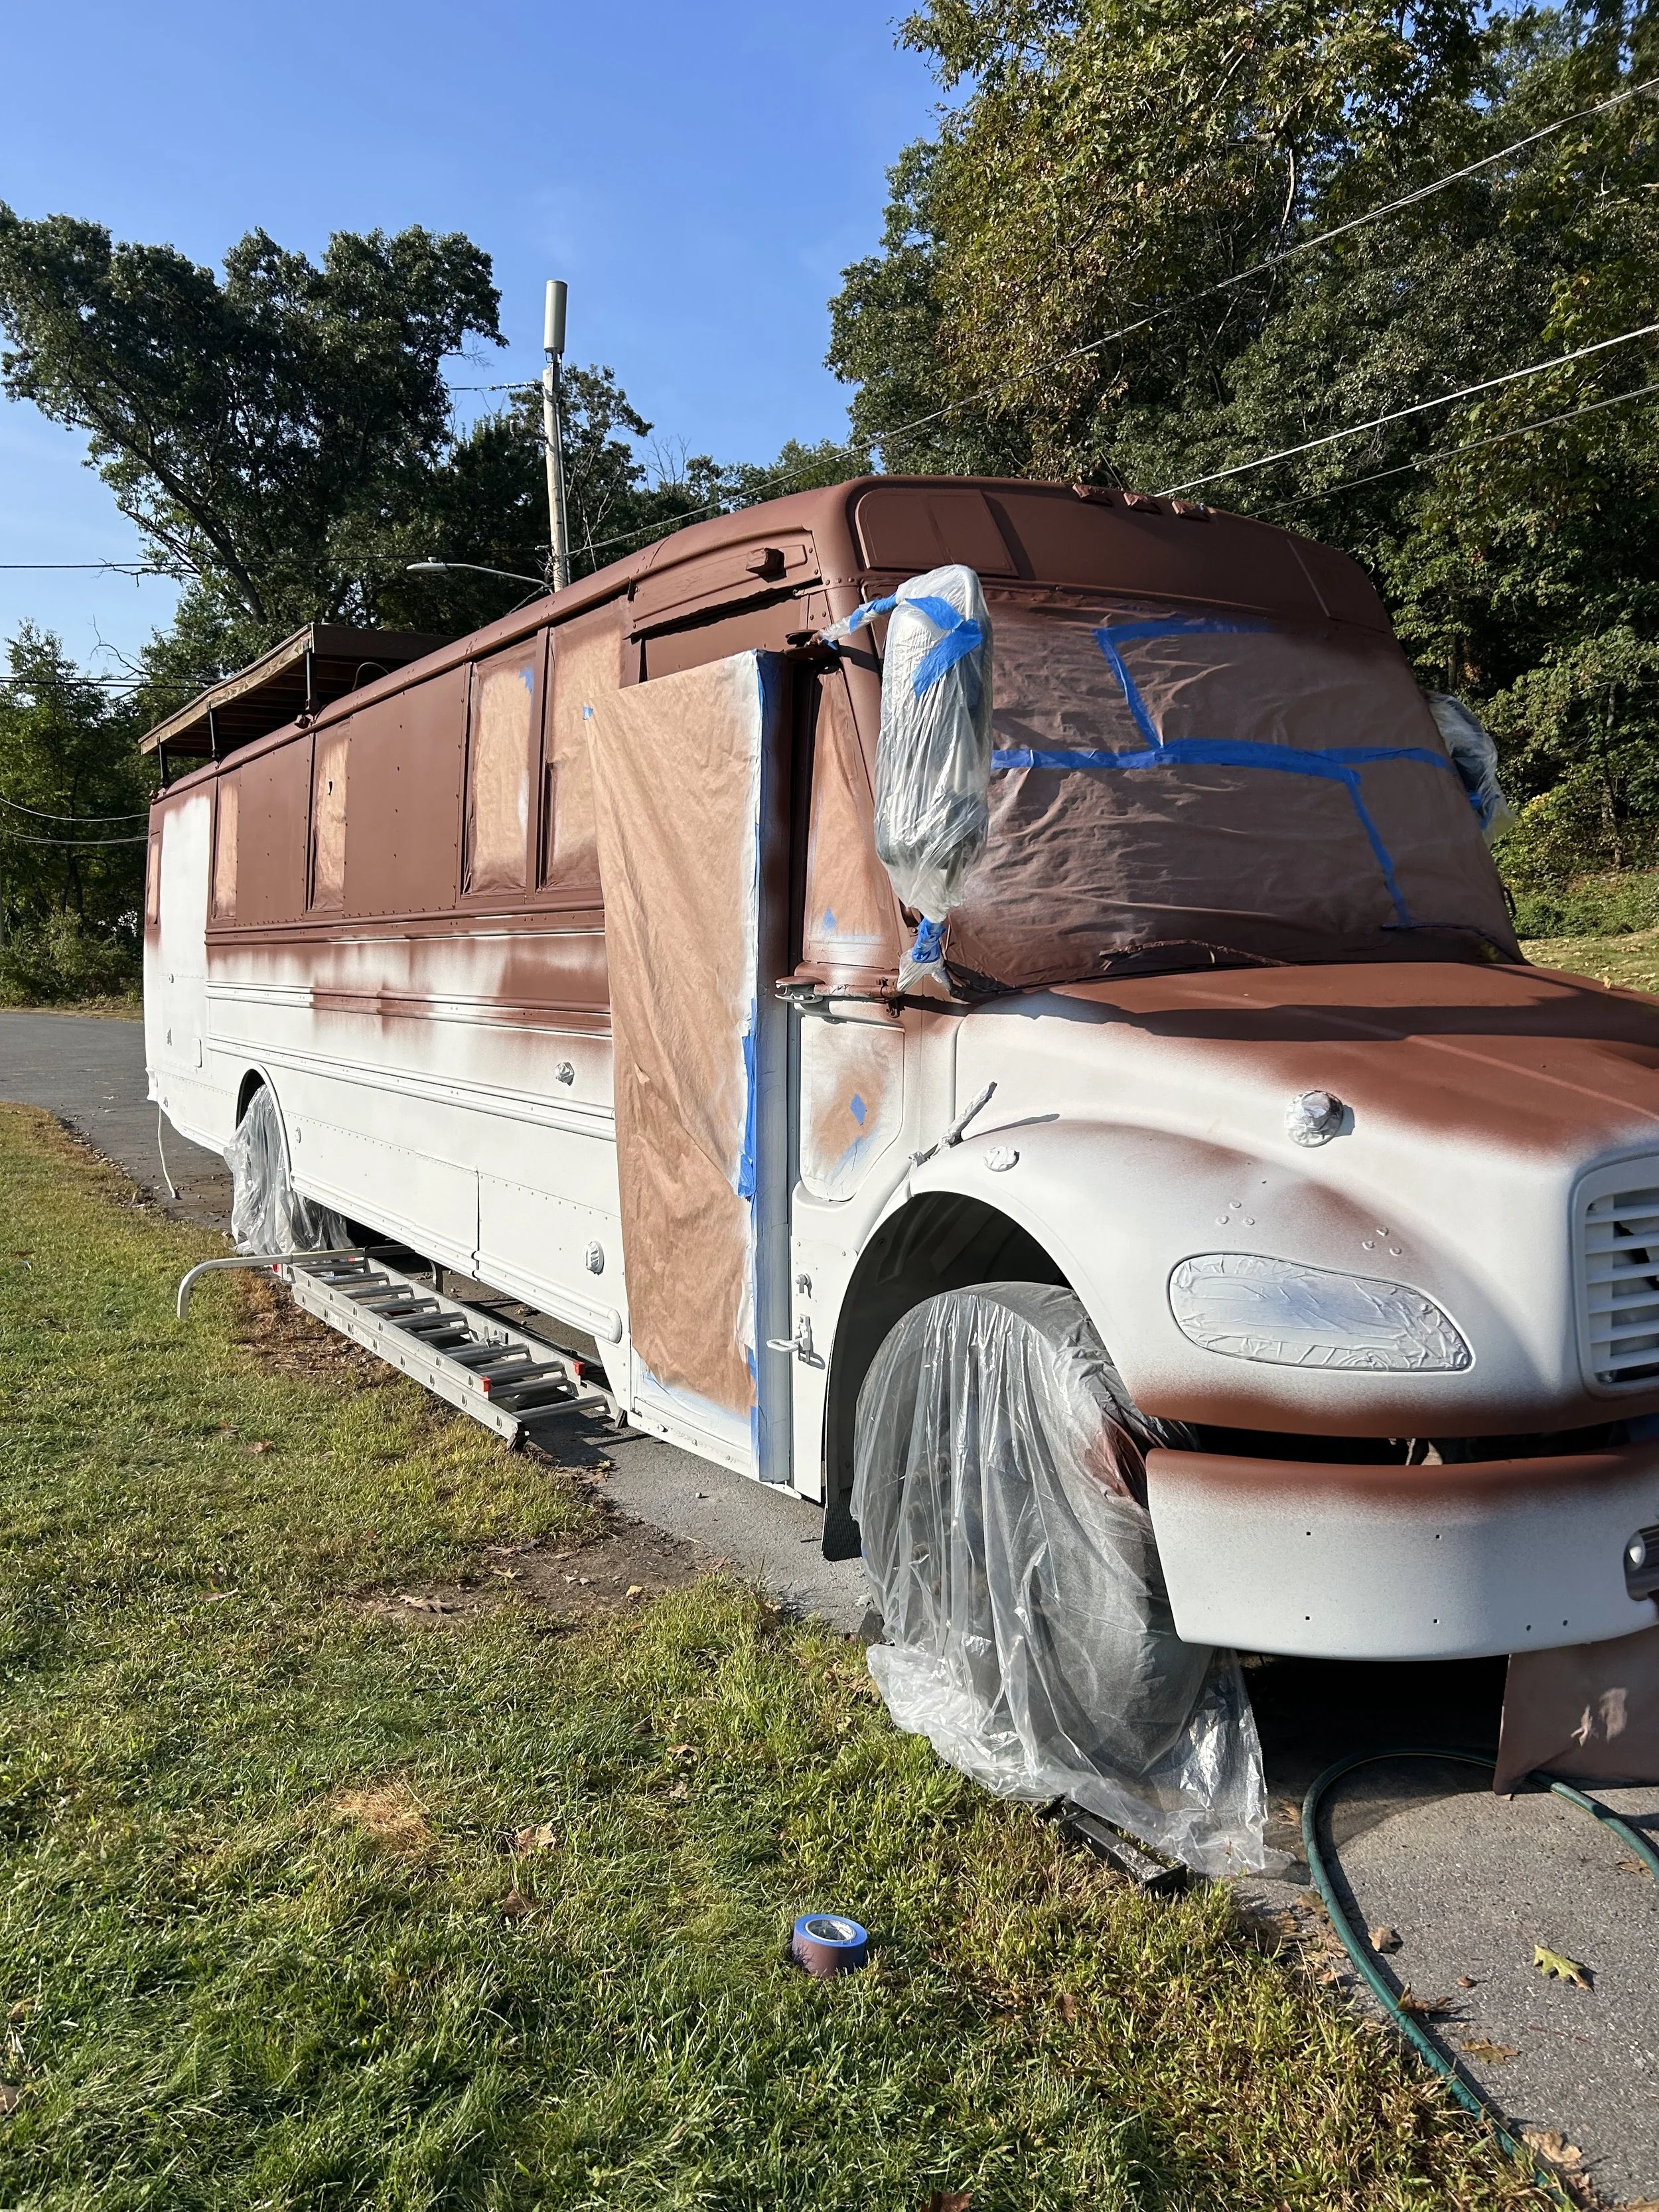
The next day we removed that paper leaving only the windows, door, mirrors, and tires covered then primed the entire bus. This was a big trust the process moment.
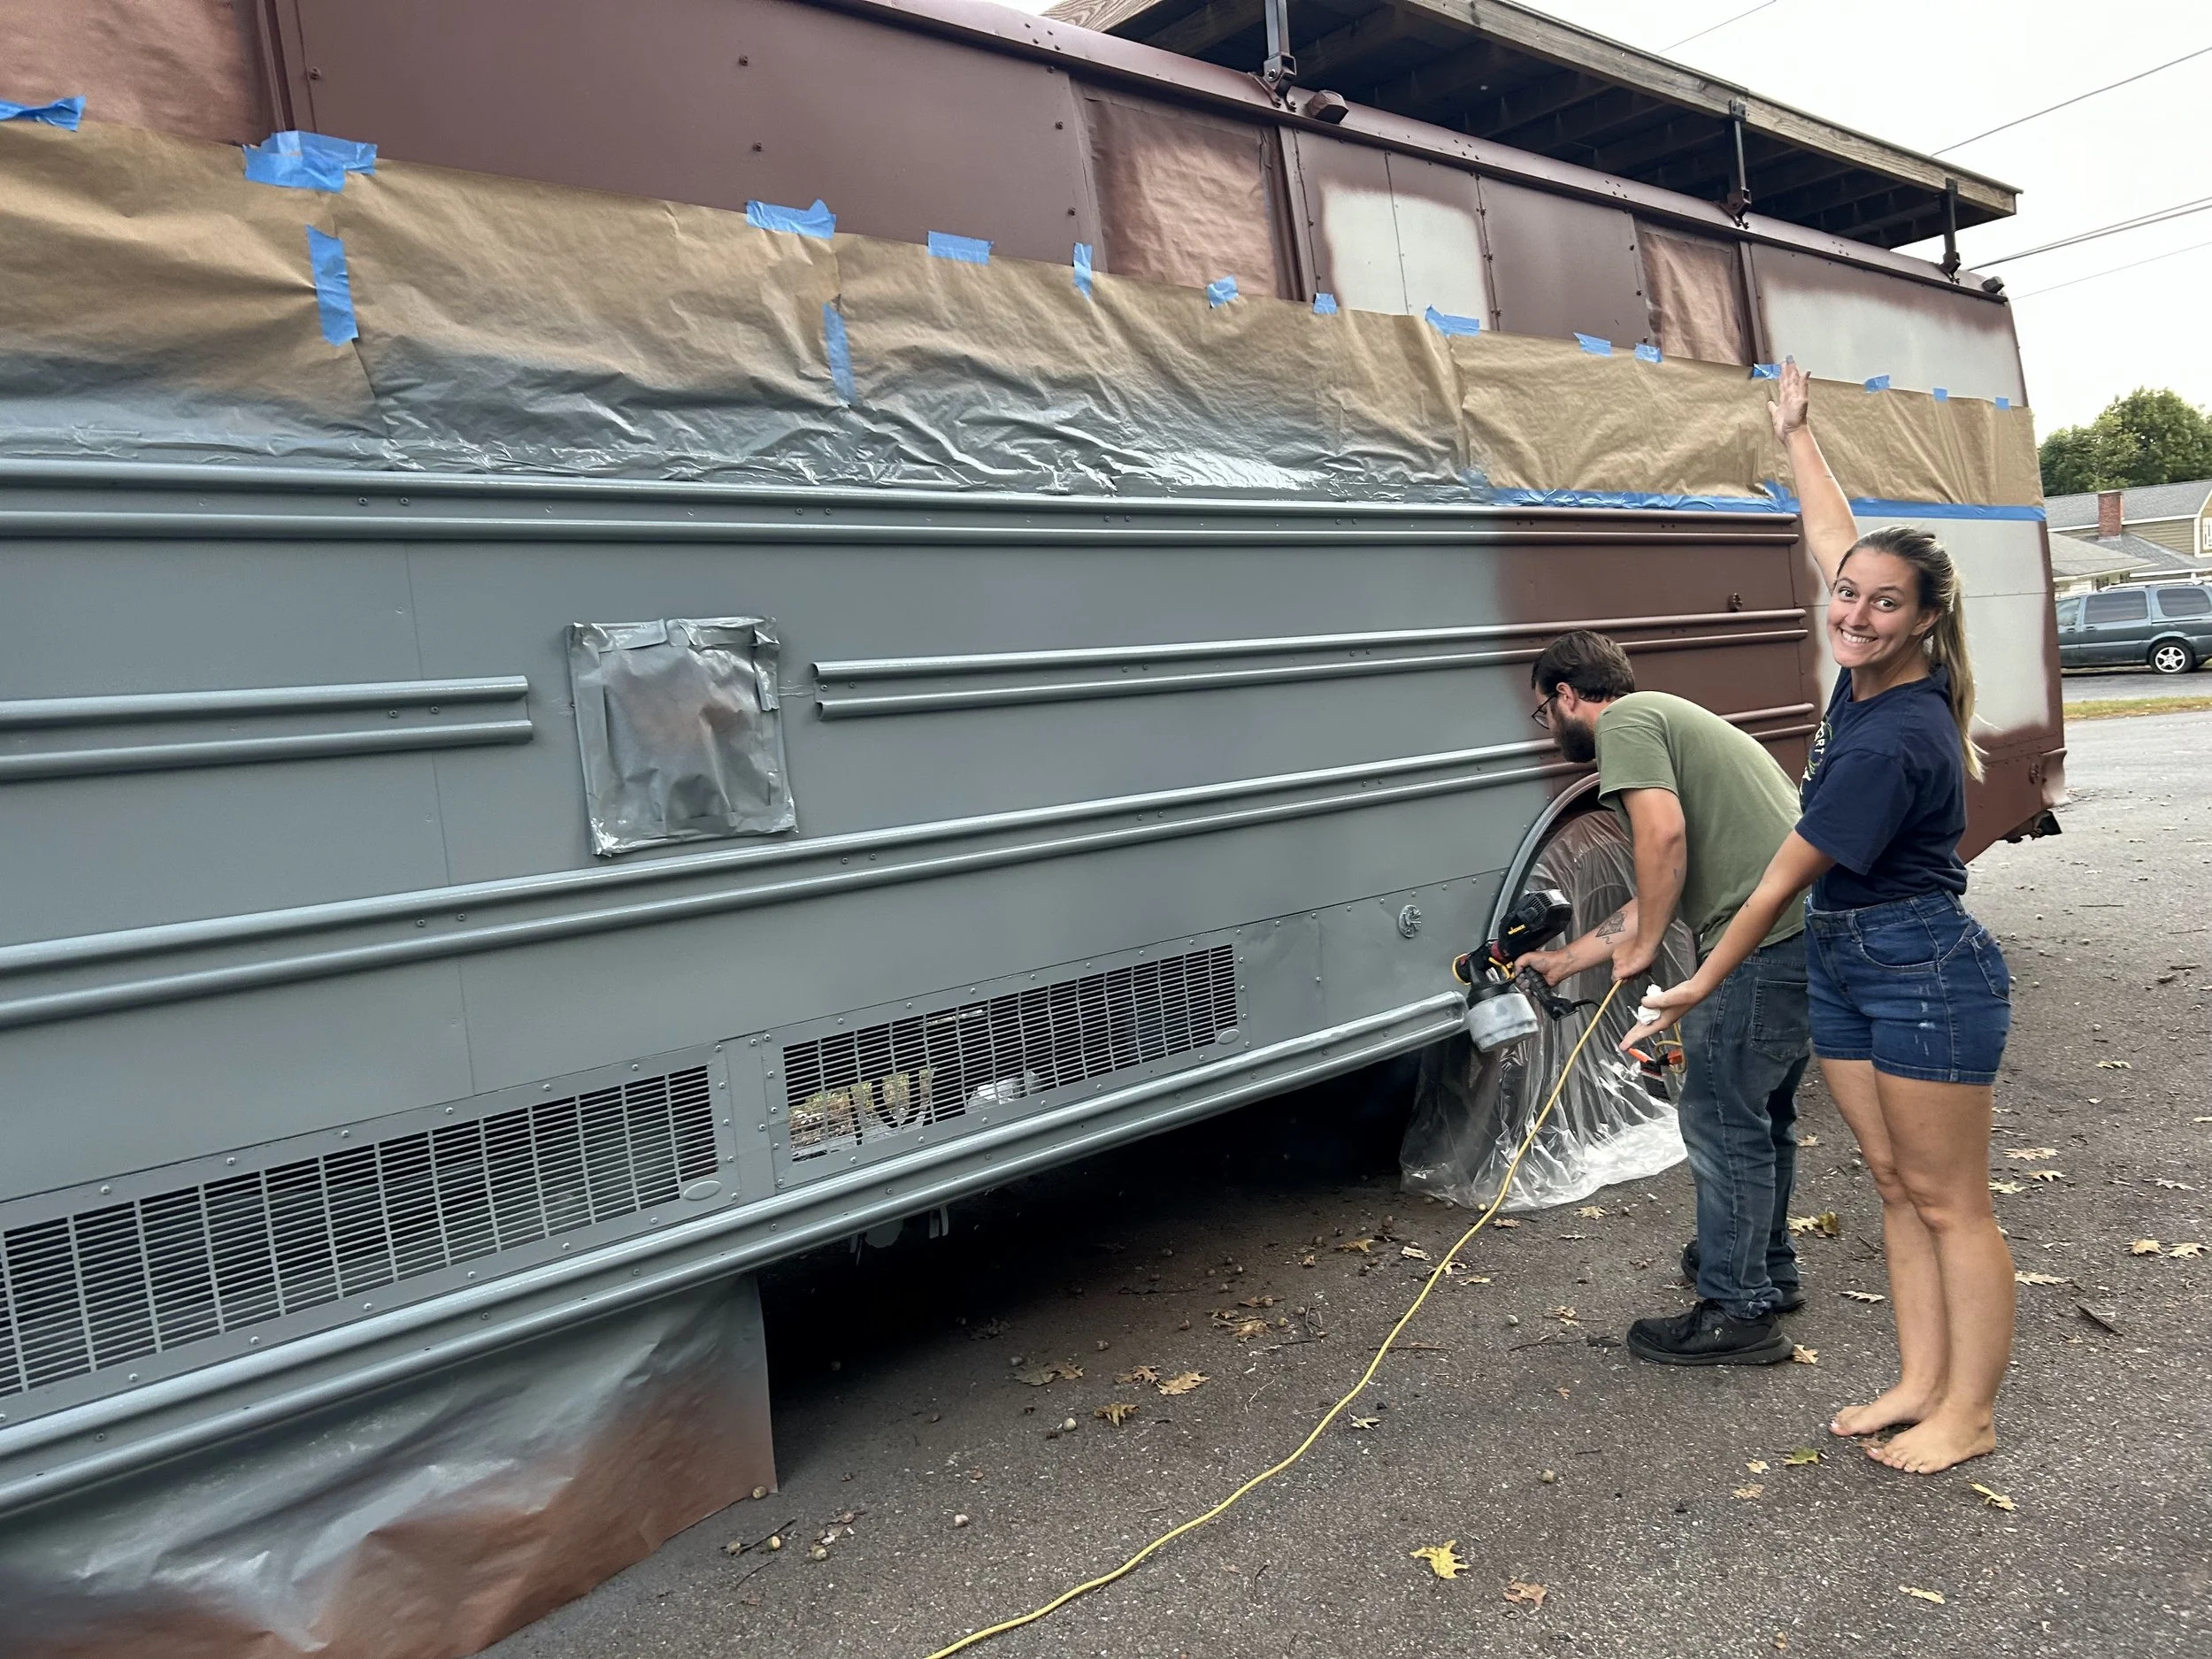
Step Three : Paint!
We started by painting the bottom half of the bus blue so we used our painter’s tape to create a crisp line and wrapped our 12 in masking paper above it. We reversed the process the next day when it was time to paint the top black. This time we used our builder’s paper to cover the entire bottom half so we didn’t risk ruining what we had already done.
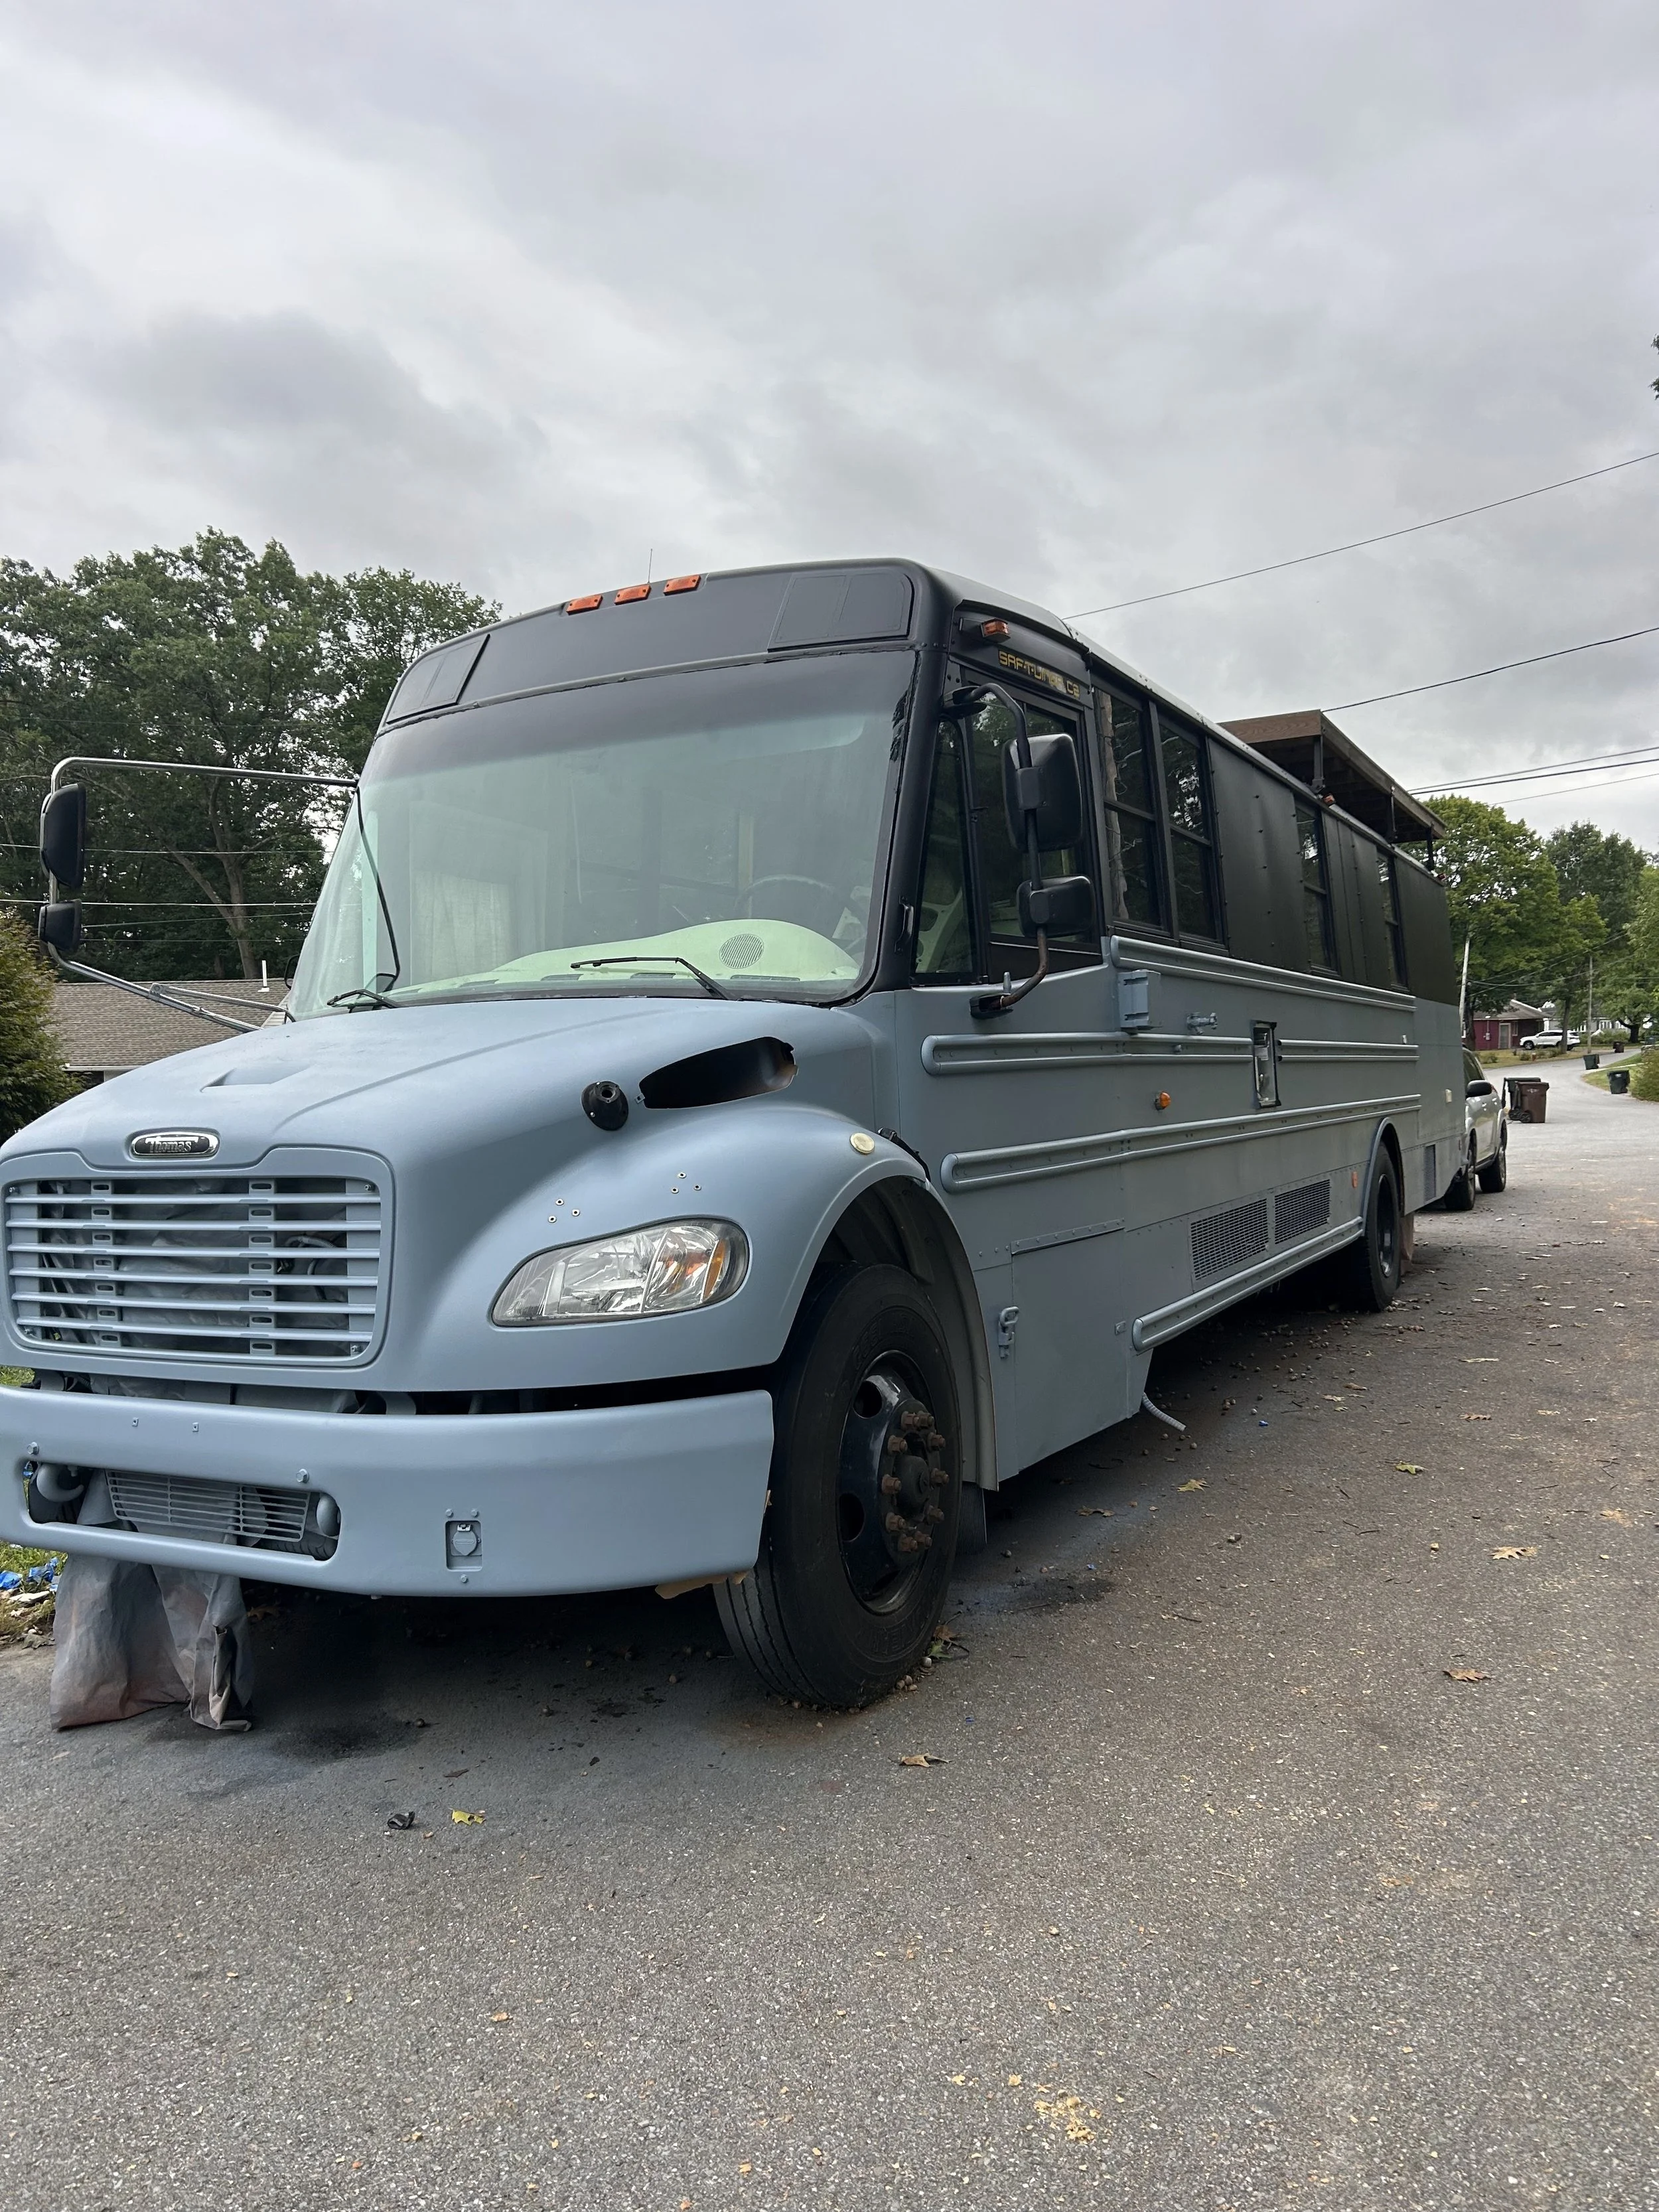
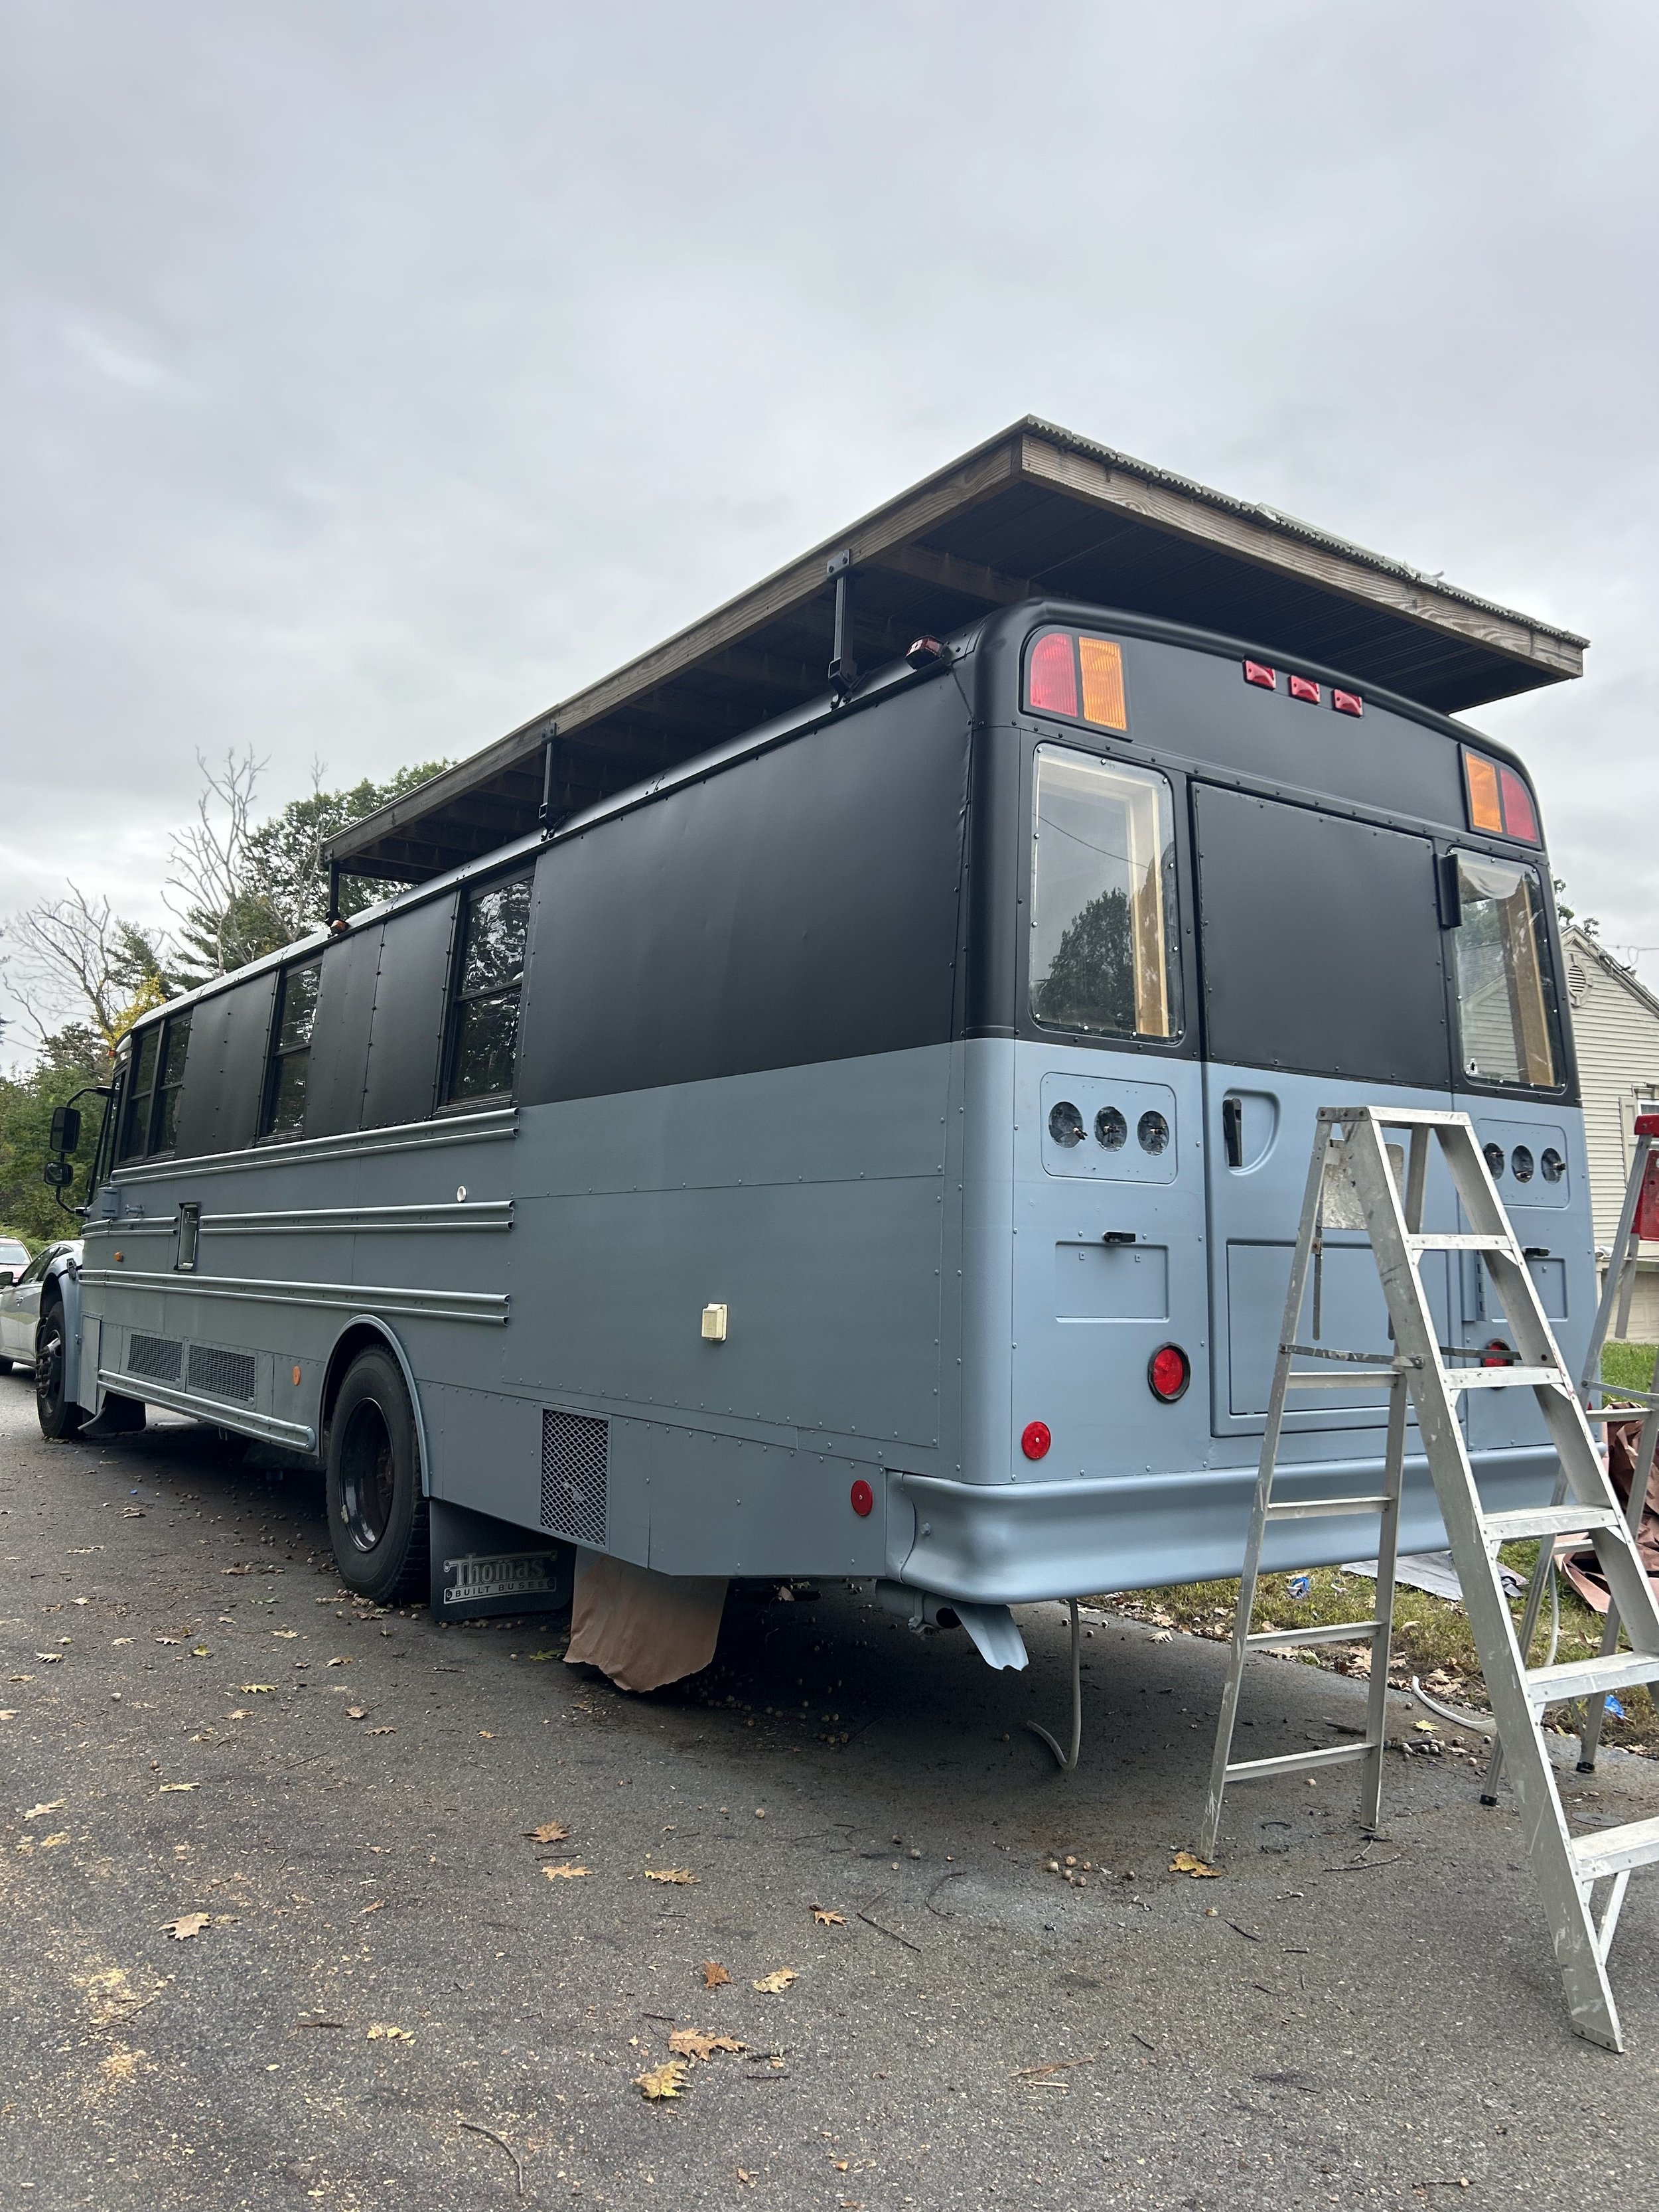
As you’ll read anywhere, the key to success is your prep work. Give yourself an even canvass, and then don’t rush through the painting process. We ended up being super happy with our results, our research and hard work paid off.